Readers’ Recipe Contest: Mom’s Bread—Made Much Easier
Submitted by Debra Stark of Debra’s Natural Gourmet, West Concord
Growing up in Orlando, Florida, did I appreciate the organic food my mom, Beatrice Stark, made for our family? Nope. Today Bea’s homemade bread would have a cult following. But back then, I couldn’t imagine anyone getting giddy about it. In the 1950’s, sitting in the waiting room at the orthodontist, dully holding a sandwich made with Mom’s bread, the orthodontist came out to get me. He stared in fascination at my Mack truck-sized sandwich. He asked to taste a piece of our mother’s bread.
I gave him a piece. He chewed. He chewed more (you had to chew a lot with Mom’s bread). He turned to Mom and offered her $40 a loaf and asked for two loaves to be delivered the following week. Mom thought he was joking. The orthodontist (I wish I remembered his name) said he wasn’t, and at that moment, my interest in food took a serious turn.
My brother, Daniel, however, feels that Mom’s bread scarred him for life. “Bread should be flexible. Most is. Mom’s did not bend. If you got it the first day or two after it was made, it crumbled into a million little pieces when you bit it. After the second day, it would become so hard that you could only hope to take a bite by putting your full weight and strength into the effort. Generally, this didn’t work. When it did, the breakthrough would be so violent that the sandwich contents would end up exploding into the air for a respectable distance. This would never fail to impress the other kids.”
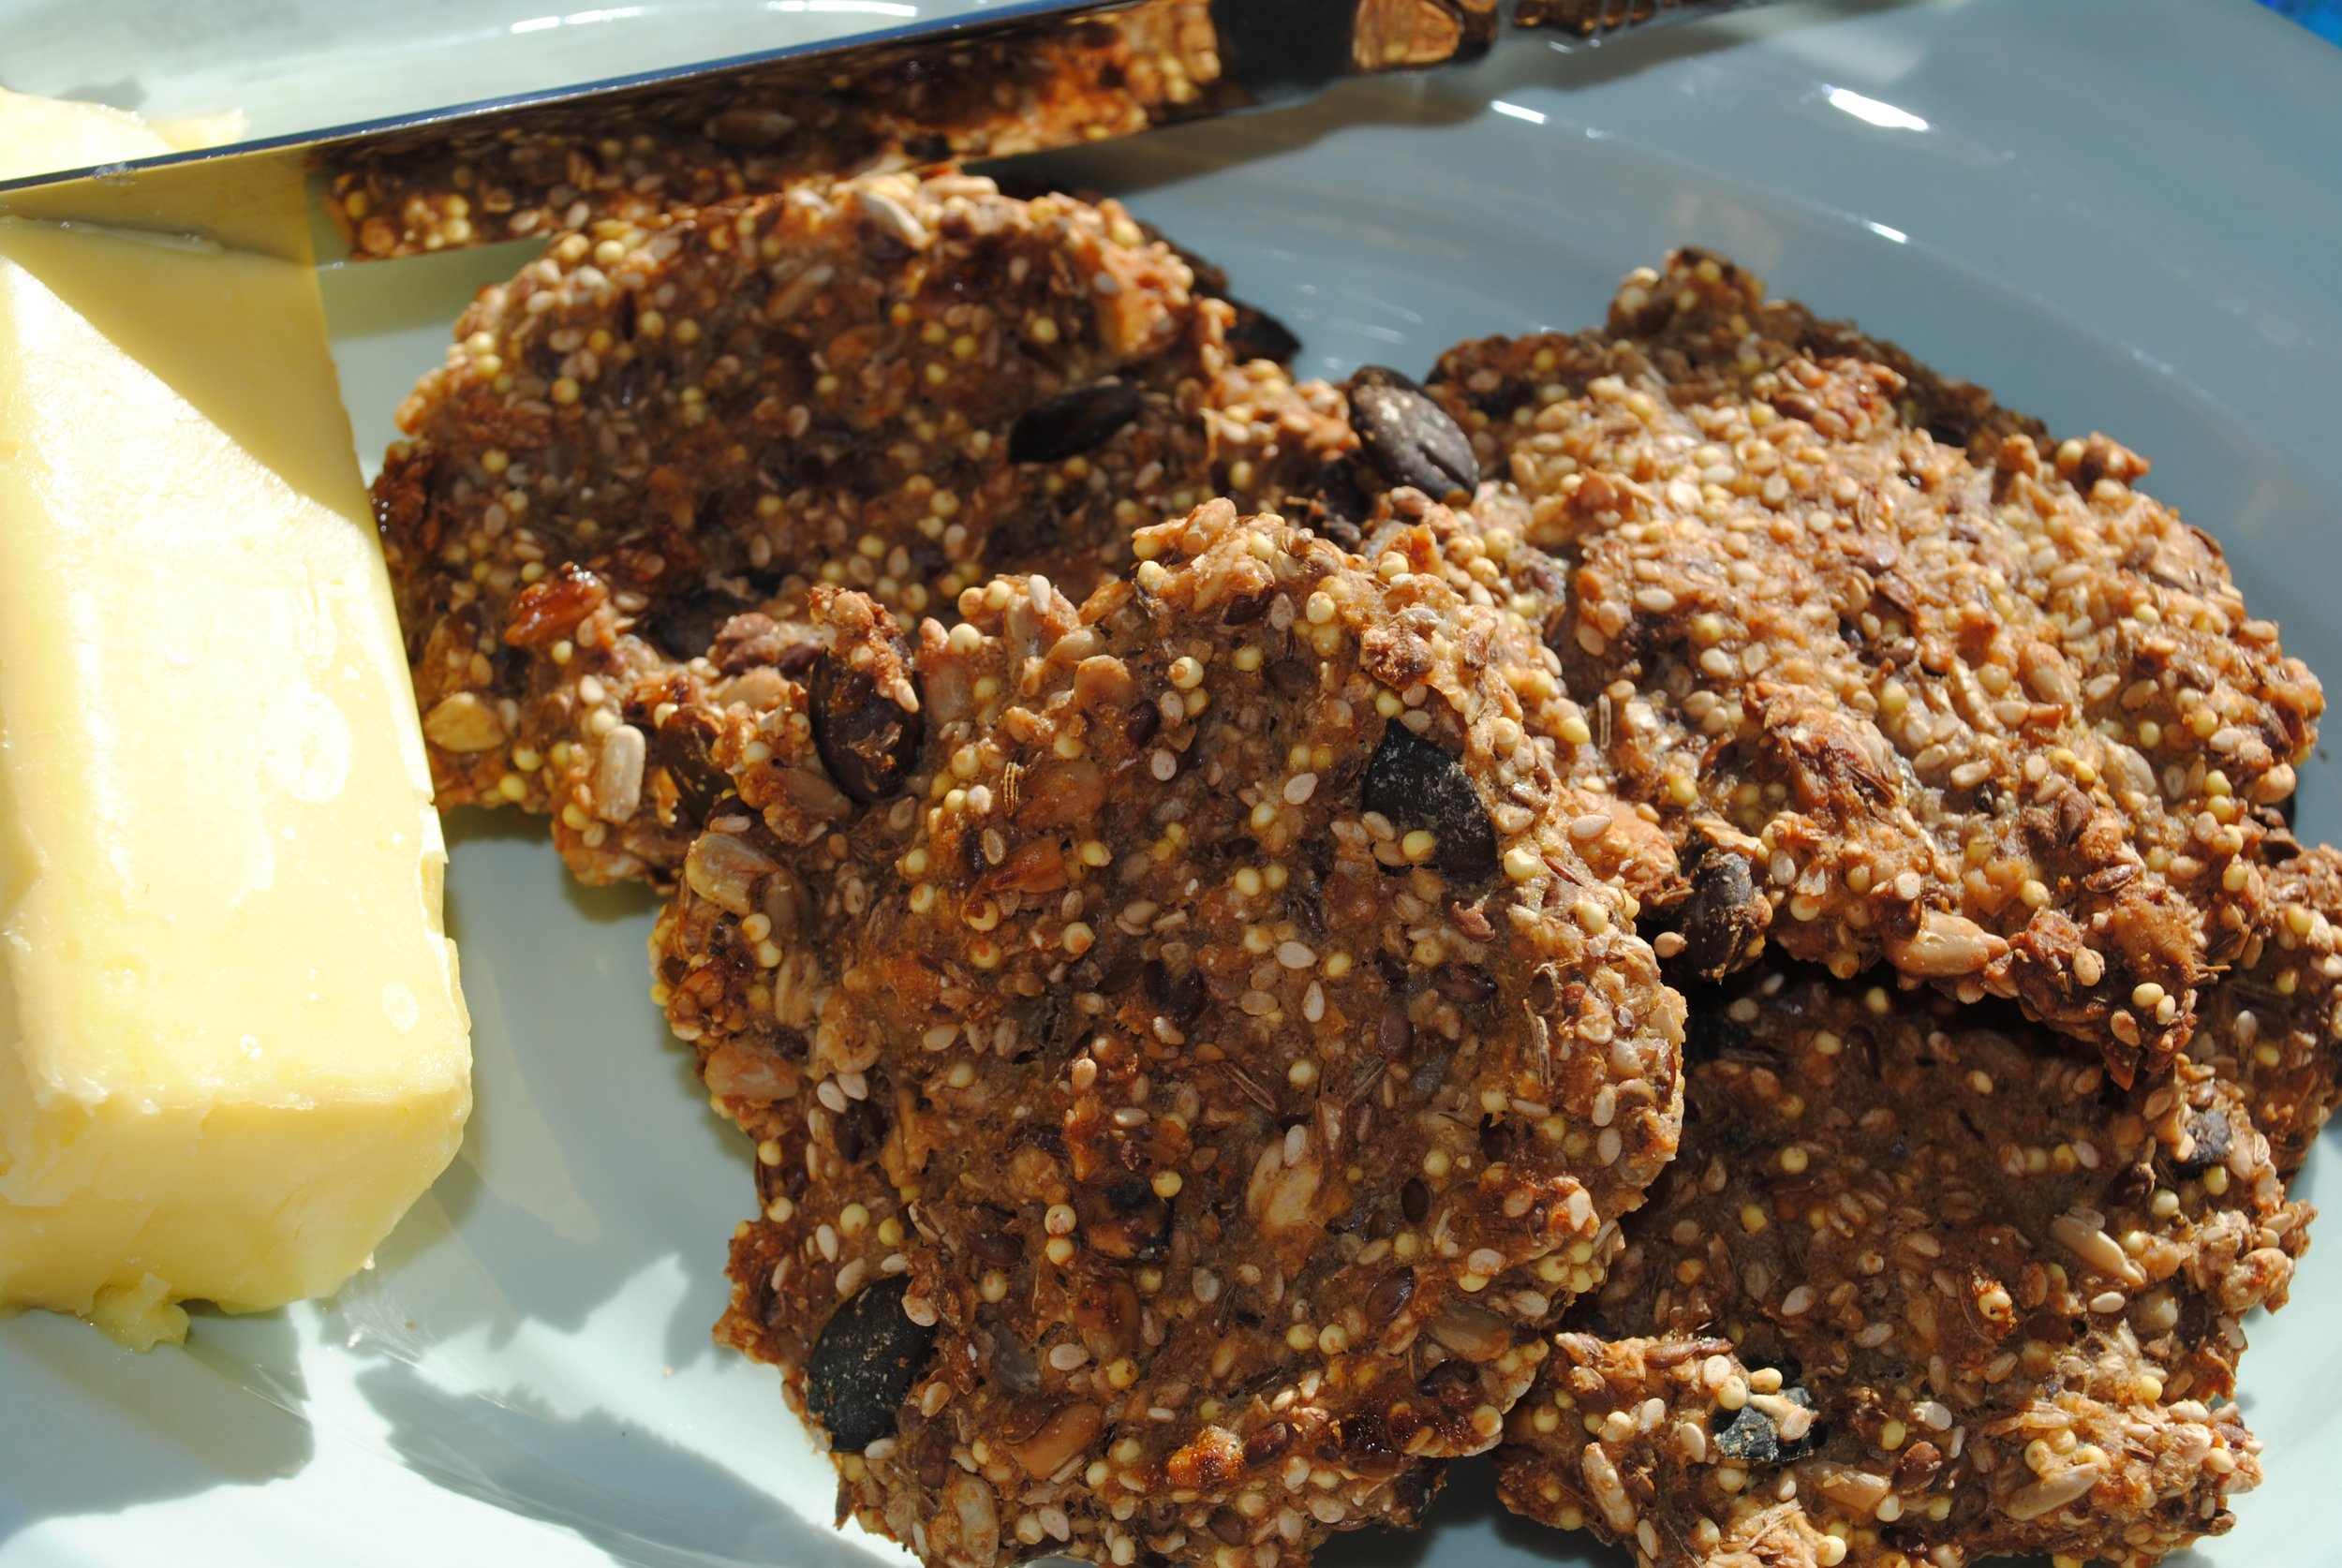
Today I make Mom’s bread and have found the perfect solution. I pat Mom’s bread into pancake disks. That way I get the taste and all the goodness without traumatizing another generation. They’re easy to eat and there’s no slicing or sandwiching involved. I decided to dispense with yeast, too. I figure that flatbreads don’t need to rise. Bake them longer, and you’ll have a yummy, satisfying hardtack that is fun to crunch and gnaw. This way they travel very well! And these freeze beautifully.
And I’ve simplified Mom’s long list of ingredients by using an organic seven-grain cereal instead of measuring out a dozen or so individual ingredients. As long as my seven-grain cereal has millet, I’m golden.
Should all your ingredients be organic? But of course!
These are great nibbled plain, or a meal unto themselves served with nut butter, butter, cheese, jam, or honey. Great for breakfast.
Mom’s Bread—Made Much Easier
Makes 36 flat breads
2 cups einkorn or whole wheat bread flour
4 cups wholegrain 7-grain cereal
1⁄4 cup bran (any) or chia seeds
2 cups rolled oats
2 tablespoons molasses or honey, optional
1 tablespoons sea salt like Celtic or Himalayan
1 cup whole flax seeds
1 cup pumpkin seeds, coarse chopped (or not)
1 cup whole unhulled brown sesame seeds (so you get all the calcium and magnesium you deserve)
2 tablespoons caraway seeds
6+ cups warm water
Preheat oven to 350°F.
In a large bowl, mix all the ingredients together (use only 6 cups water at this point). If batter seems dry after
letting it sit for 20 minutes add another couple of cups of water. You’ll get the hang of this over time, and it’s nothing to worry your pretty little head about. A little less water, a little more, it’s all good. You just want the dough to hold together. The last time I made these I used 8 cups of water. Go figure.
Grease baking sheets (I like to use a Spectrum liquid lecithin spray). Place 1⁄3 cup dough per bread disk onto baking sheet about 3 inches apart. Flatten each slightly with the palm of the hand (wetting hands makes this easier).
Put baking sheets in oven. Bake bread about 30 minutes, or until disks are lightly browned and you can scoot them around the baking sheet with your fingers (in other words, the batter is released from the pan). Remove pan from oven unless you like your bread crunchy. If you do, bake your disks a little longer, or flip them over and bake another 5.
Cool on baking sheet. Then gobble some up, put some in breadbasket for dinner, tuck some in a lunch box for the next day or store a bunch in the freezer.
Editor’s note: This recipe has not been independently tested by the Edible Boston team.