From Farm to Table with Alex Makes Art: The Art of Flower Hammering
As spring and summer months come into bloom, so do many flower shares. I first noticed the bounty of beautiful New England wildflowers while standing in line to pick up my very first CSA. I swooned over those dreamy purples, pinks, yellows and pops of blue, longing to have them as a perpetual centerpiece in my dining area. The sad reality has been that once they bloom, they never stay long enough and I mourn their exit.
If only I were able to preserve these hues, the composition of my hand-tailored arrangement, the whimsical memories of the season’s bounty, to enjoy these blossoms a little longer...
And then it hit me.
Hammered Flower Bookmarks!
Materials you’ll need:
A variety of flowers
Parchment paper
A few sheets of heavy weighted paper (bristol or mixed media paper)
Hole punch
Shoe, hammer or rolling pin
Proofed makeshift studio space!
So, first things first: We need flowers.
You could sign up for your local flower share and indulge in the surprise of what has been procured from the latest crop. But If that sort of expenditure isn’t an option for you this season, no worries… it’s time to choose a destination and hunt for some wildflowers!
There are all sorts of gorgeous flora sprouting up in our public and private spaces. Maybe they grow in your very own backyard, or somewhere along your daily walk, or maybe they’re growing behind that sketchy corner parking spot at the local 7-11 (city living, am I right?).
My suggestion is to get out there and FORAGE! Let the flora speak to you. Make games out of looking for differentiation in height, interesting shaped leaves or just colors that excite the eyes.
Personally, I love to both purchase farm fresh flowers and pick my own batch. On my floral scavenger hunts, I search for ferns and other juicy, grassy blades. What can I say, I’m a green kinda gal!
Once you have your bouquet, you can choose to hammer that fresh batch, or let them do their thing in a vase for a while before they turn into your masterpiece. I trim the bottoms of the stems on an angle, throw them into a water-filled mason jar and then, after I see my flower friends start to wilt, I bring ‘em into the studio. I usually wait until a day or two after I see some wilting, right before the plants start to get stinky.
Before I get into any artmaking, I make sure to proof my studio space! You could lay down an old vinyl tablecloth, cut up a brown paper shopping bag, use a cutting board or work outside in a space that has no limits in terms of mess-makin’! This is a relatively tidy craft, but it can be rough on your working area; a layer of scrap cardboard is enough protect your surface from any hardcore hammering.

(My favorite memory of flower hammering was on camera last summer. I walked outside barefoot, set up a couple of cracked cutting boards, and told my art students—watching me on Zoom in real time—not too make too much noise as I snagged a bunch of hydrangeas, tulips and black eyed Susans from my neighbor’s front lawn. I snuck back over to my porch, my little outside art haven, and got to pounding. The kiddos “ooo”ed and “ahh”ed as they saw colors squish out of my flowers, stems, grass blades and leaves. I asked them to join in, highlighting the vocabulary word of the day: CATHARTIC.)
Now that you have your prettiest petals at prime pigment, organize your composition on a firm piece of paper that’s been taped down to stay in place. I suggest Bristol or mixed media paper, as it has a nice weight and feel and can handle a little roughhousing. Now, begin to compose! Maybe you grab a handful of flower bits and throw down. Some might call this “abstract art”... professional artist types refer to it as going “willy nilly.”
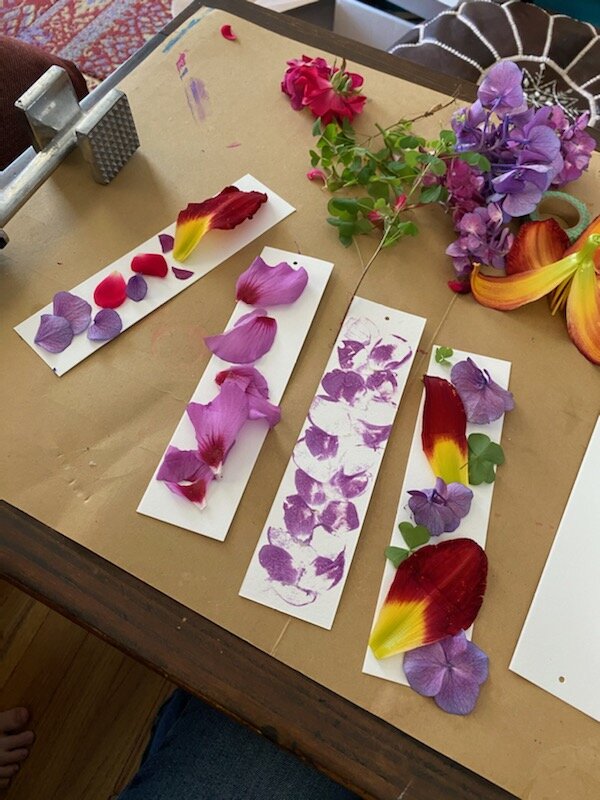
You might find this to be a more mindful practice, separating out petals by hue, shape and/or size. You could work a mandala out of your findings. Think about color balance, interesting repeating patterns, or simply don’t think at all. This arrangement is undoubtedly the part where your customization and craftsmanship really come into play. If you’re crafting as a family, each artist can have their turn at creating a compelling story with the layout of their flower scraps.
When you’re satisfied, cover that up with a piece of parchment paper. I like to tape down the corners of my parchment paper with some washi tape (a personal fave) to keep my composition from sliding around.
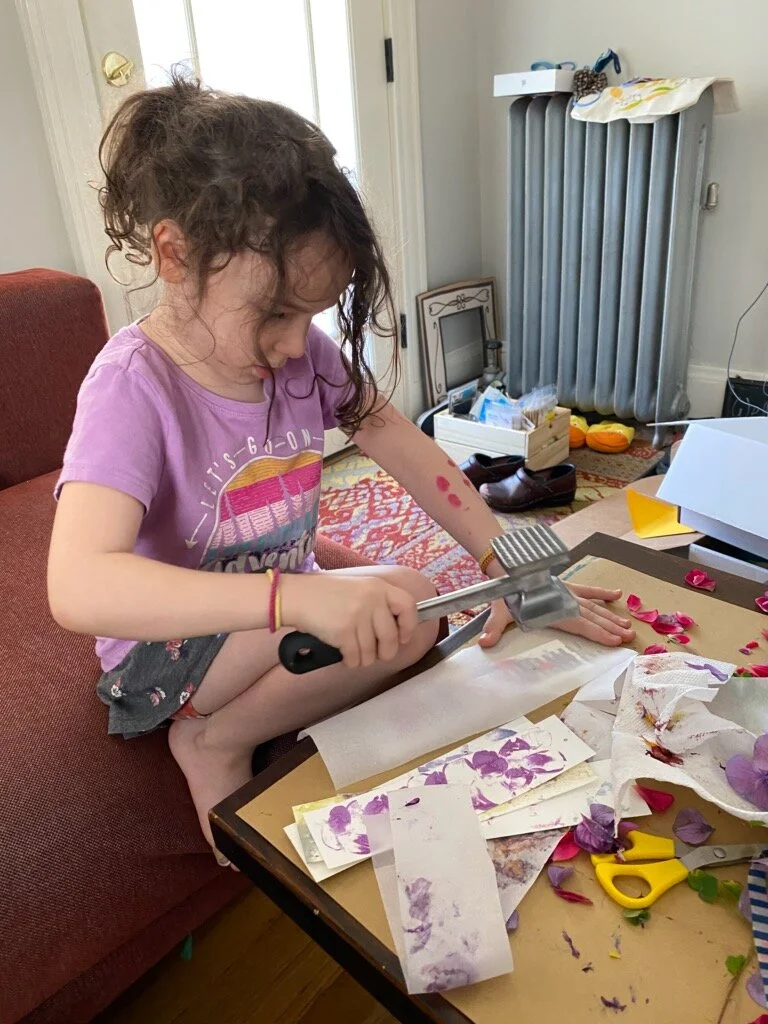
Now we’re ready to get out some of that artistic aggression. Grab a hammer, rolling pin, even a shoe—if you’re in New England, grab the nearest clog.
You officially have permission to smash the #*@& out of your flower composition. The idea is to physically press the color out of your plants and onto your bookmark, bringing your arrangements to life! A hard pounding motion is a satisfying way to apply color with a blunt object, and if you’re using a rolling pin, the back-and-forth motion will help squeeze out their naturally vibrant pigments.
Did that relieve some muscle tension? It’s time to check out the fruits of our labor. Peel open your paper, shake off the pulverized pieces of flora into your compost bin and marvel at the beautiful work of art you created from nature! Woah!
Lastly, you’ll want to cut those pieces of cardstock into bookmark shapes. A 2 x 6 inch rectangle is usually the perfect size. I then take my handy hole punch (or a sharp pencil, in a pinch) and create a centered hole about an inch down from the top of my bookmark, and search for any odds and ends that could be woven through as a ribbon to zhuzh it up. Maybe you have some leftover baker’s twine and beads, or colorful yarn that you can throw into a braid. Let your imagination run wild!
Hammered flower bookmarks are a unique way to record your flower share/foraged natural findings from week to week. Once you make your markings on one side of the bookmark, perhaps you write the date on the back. If you travel away one sometime this season, can you find different flora? This could become like a seasonal passport, a personal archive, your botanical memory for Spring–Summer 2021, a potentially weird and confusing time made bright, color-filled, and inspirational.
This story appeared as an Online Exclusive in April 2021.