
Fire Season: A Fall Gathering
Photos by Michael Piazza / Styled by Catrine Kelty
As summer begins to fade, giving way to cooler, shorter—and thankfully less buggy—days, I start to get serious about outdoor cooking. Summer is still the best time for quickly grilling a piece of fish or a steak, but spending an afternoon and evening gathered around a backyard fire pit is far more enjoyable when there’s a crisp chill to the air. The radiant warmth of a fall fire feels like a comforting hug, and the season’s produce brings incredible flavor to the table, pairing especially well with the smoky notes of wood-fired cooking.
Mastering live-fire cooking takes practice. It’s an engaging, sensory experience that rewards patience and attention. I like to start a roaring fire about 90 minutes before I plan to cook, giving the wood plenty of time to burn down into a bed of glowing coals. While the fire is building, I get organized in the kitchen. It’s best to have all your ingredients prepped, chopped and measured before heading outside.
To avoid running back and forth all afternoon, gather everything you’ll need on a few trays: salt, pepper, tongs, an instant-read thermometer, oven mitts, dish towels, extra sheet pans and disposable foil pans all come in handy. I also like to keep a small cooler nearby for perishables—and, just as importantly, a few cold beverages.
Build your fire using a log cabin method. Start with six logs and let them burn until the wood has broken down into white-hot coals covered with a layer of ash. Once most of the logs have carbonized into large embers, spread the coals evenly across the fire pit. For all of the recipes except the fish, move any partially burned logs to the perimeter of the fire and add fresh logs on top. Throughout the cook, maintain a medium-hot fire by raking fresh coals from the burning logs into the cooking area and replenishing the fire with additional wood as needed.
These recipes make a wonderful complete menu, albeit ambitious—especially if you’re new to live-fire cooking. If you’re just getting started, focus on just one or two recipes to build your confidence. But if you’re ready to tackle the full menu, here’s the order I recommend:
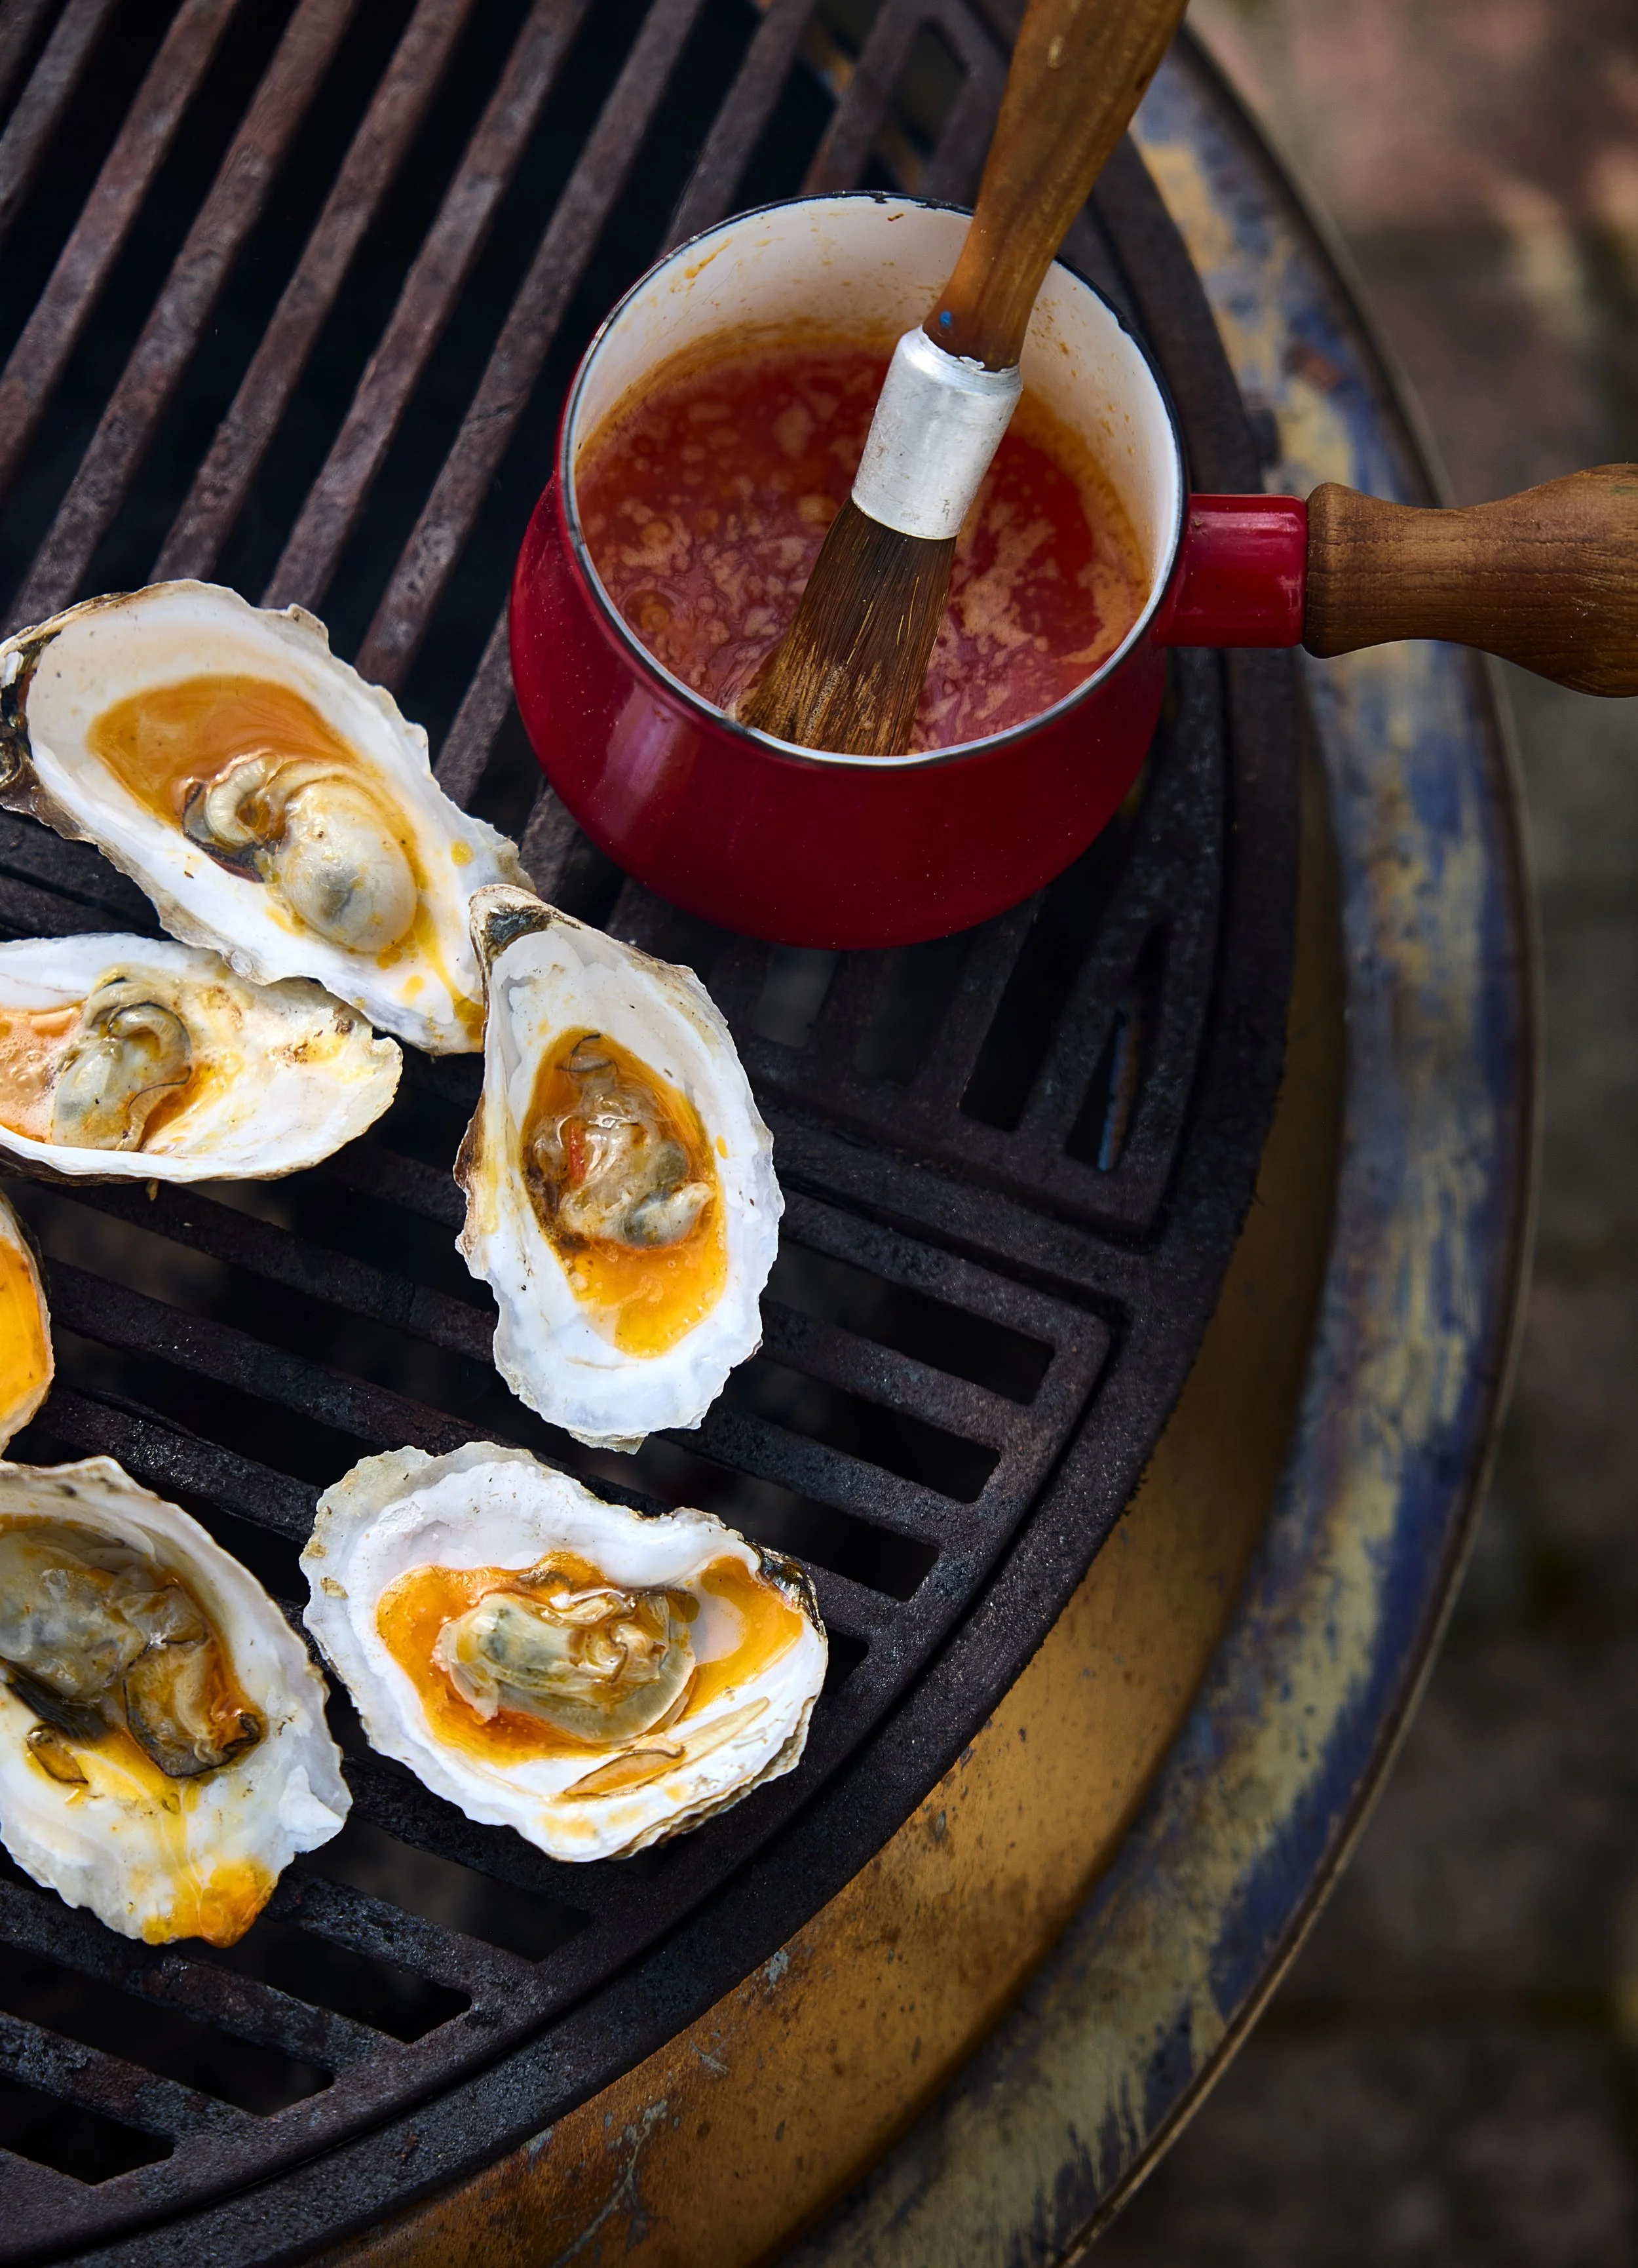
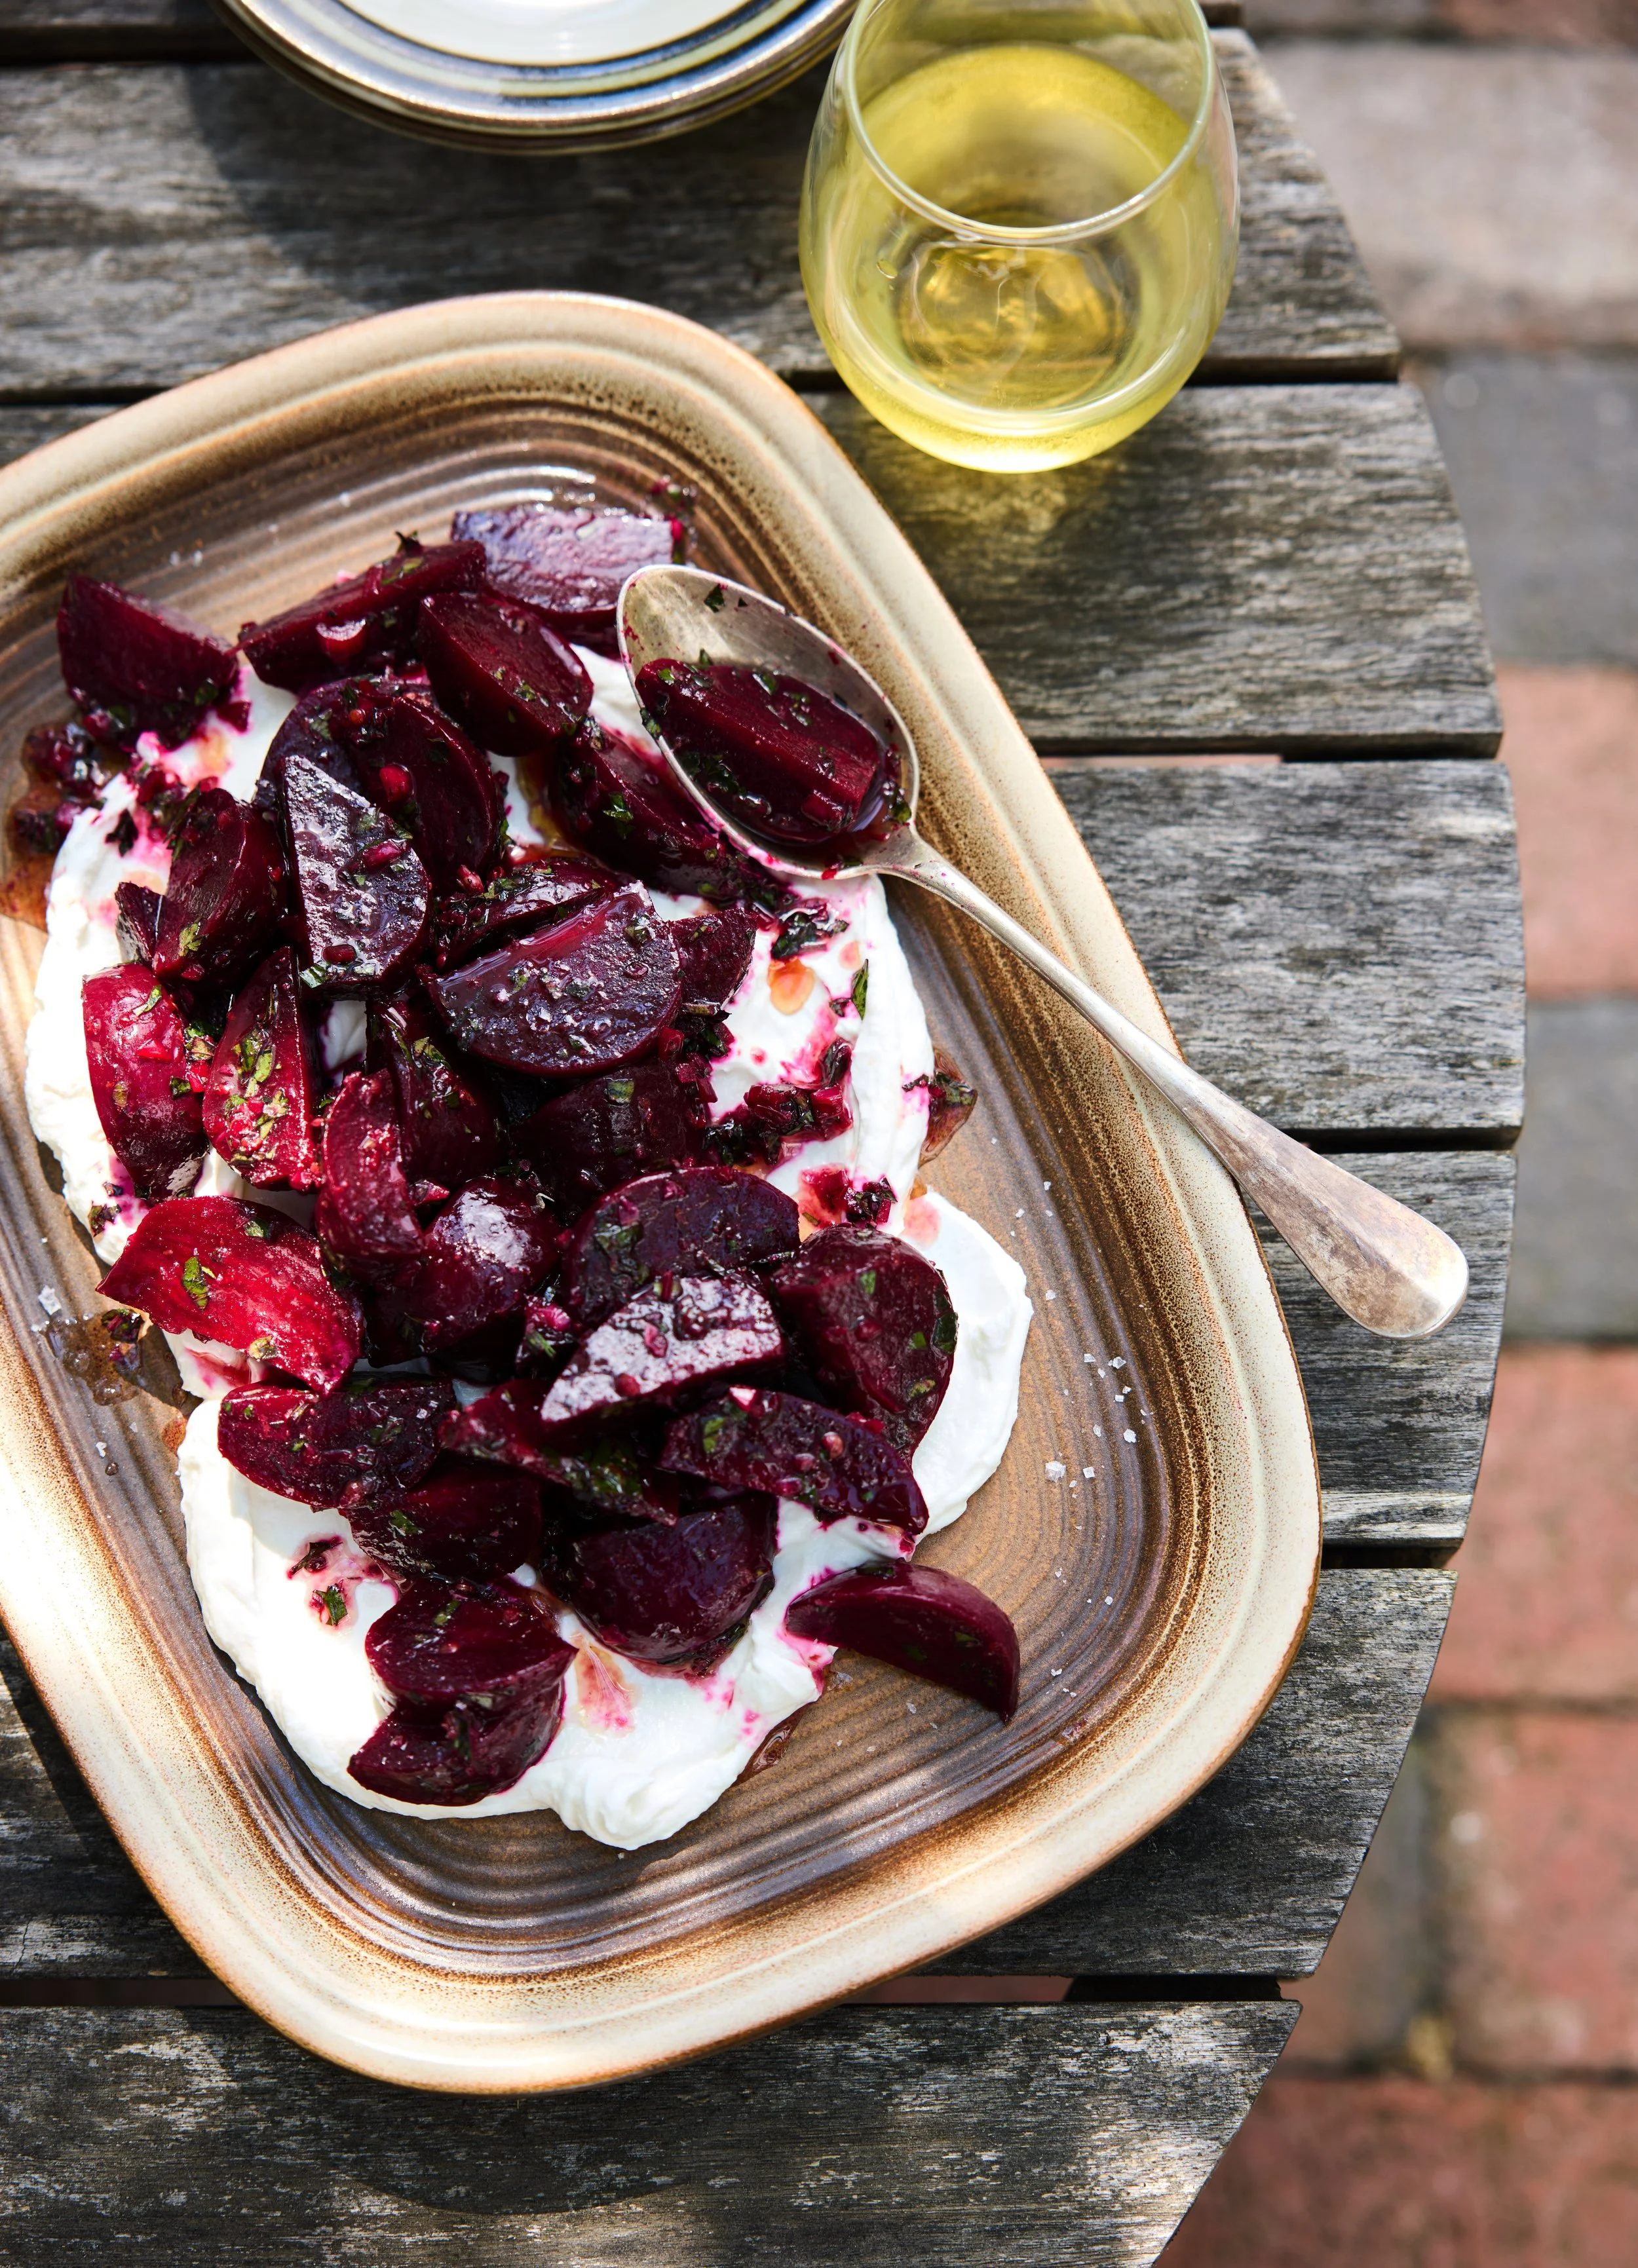
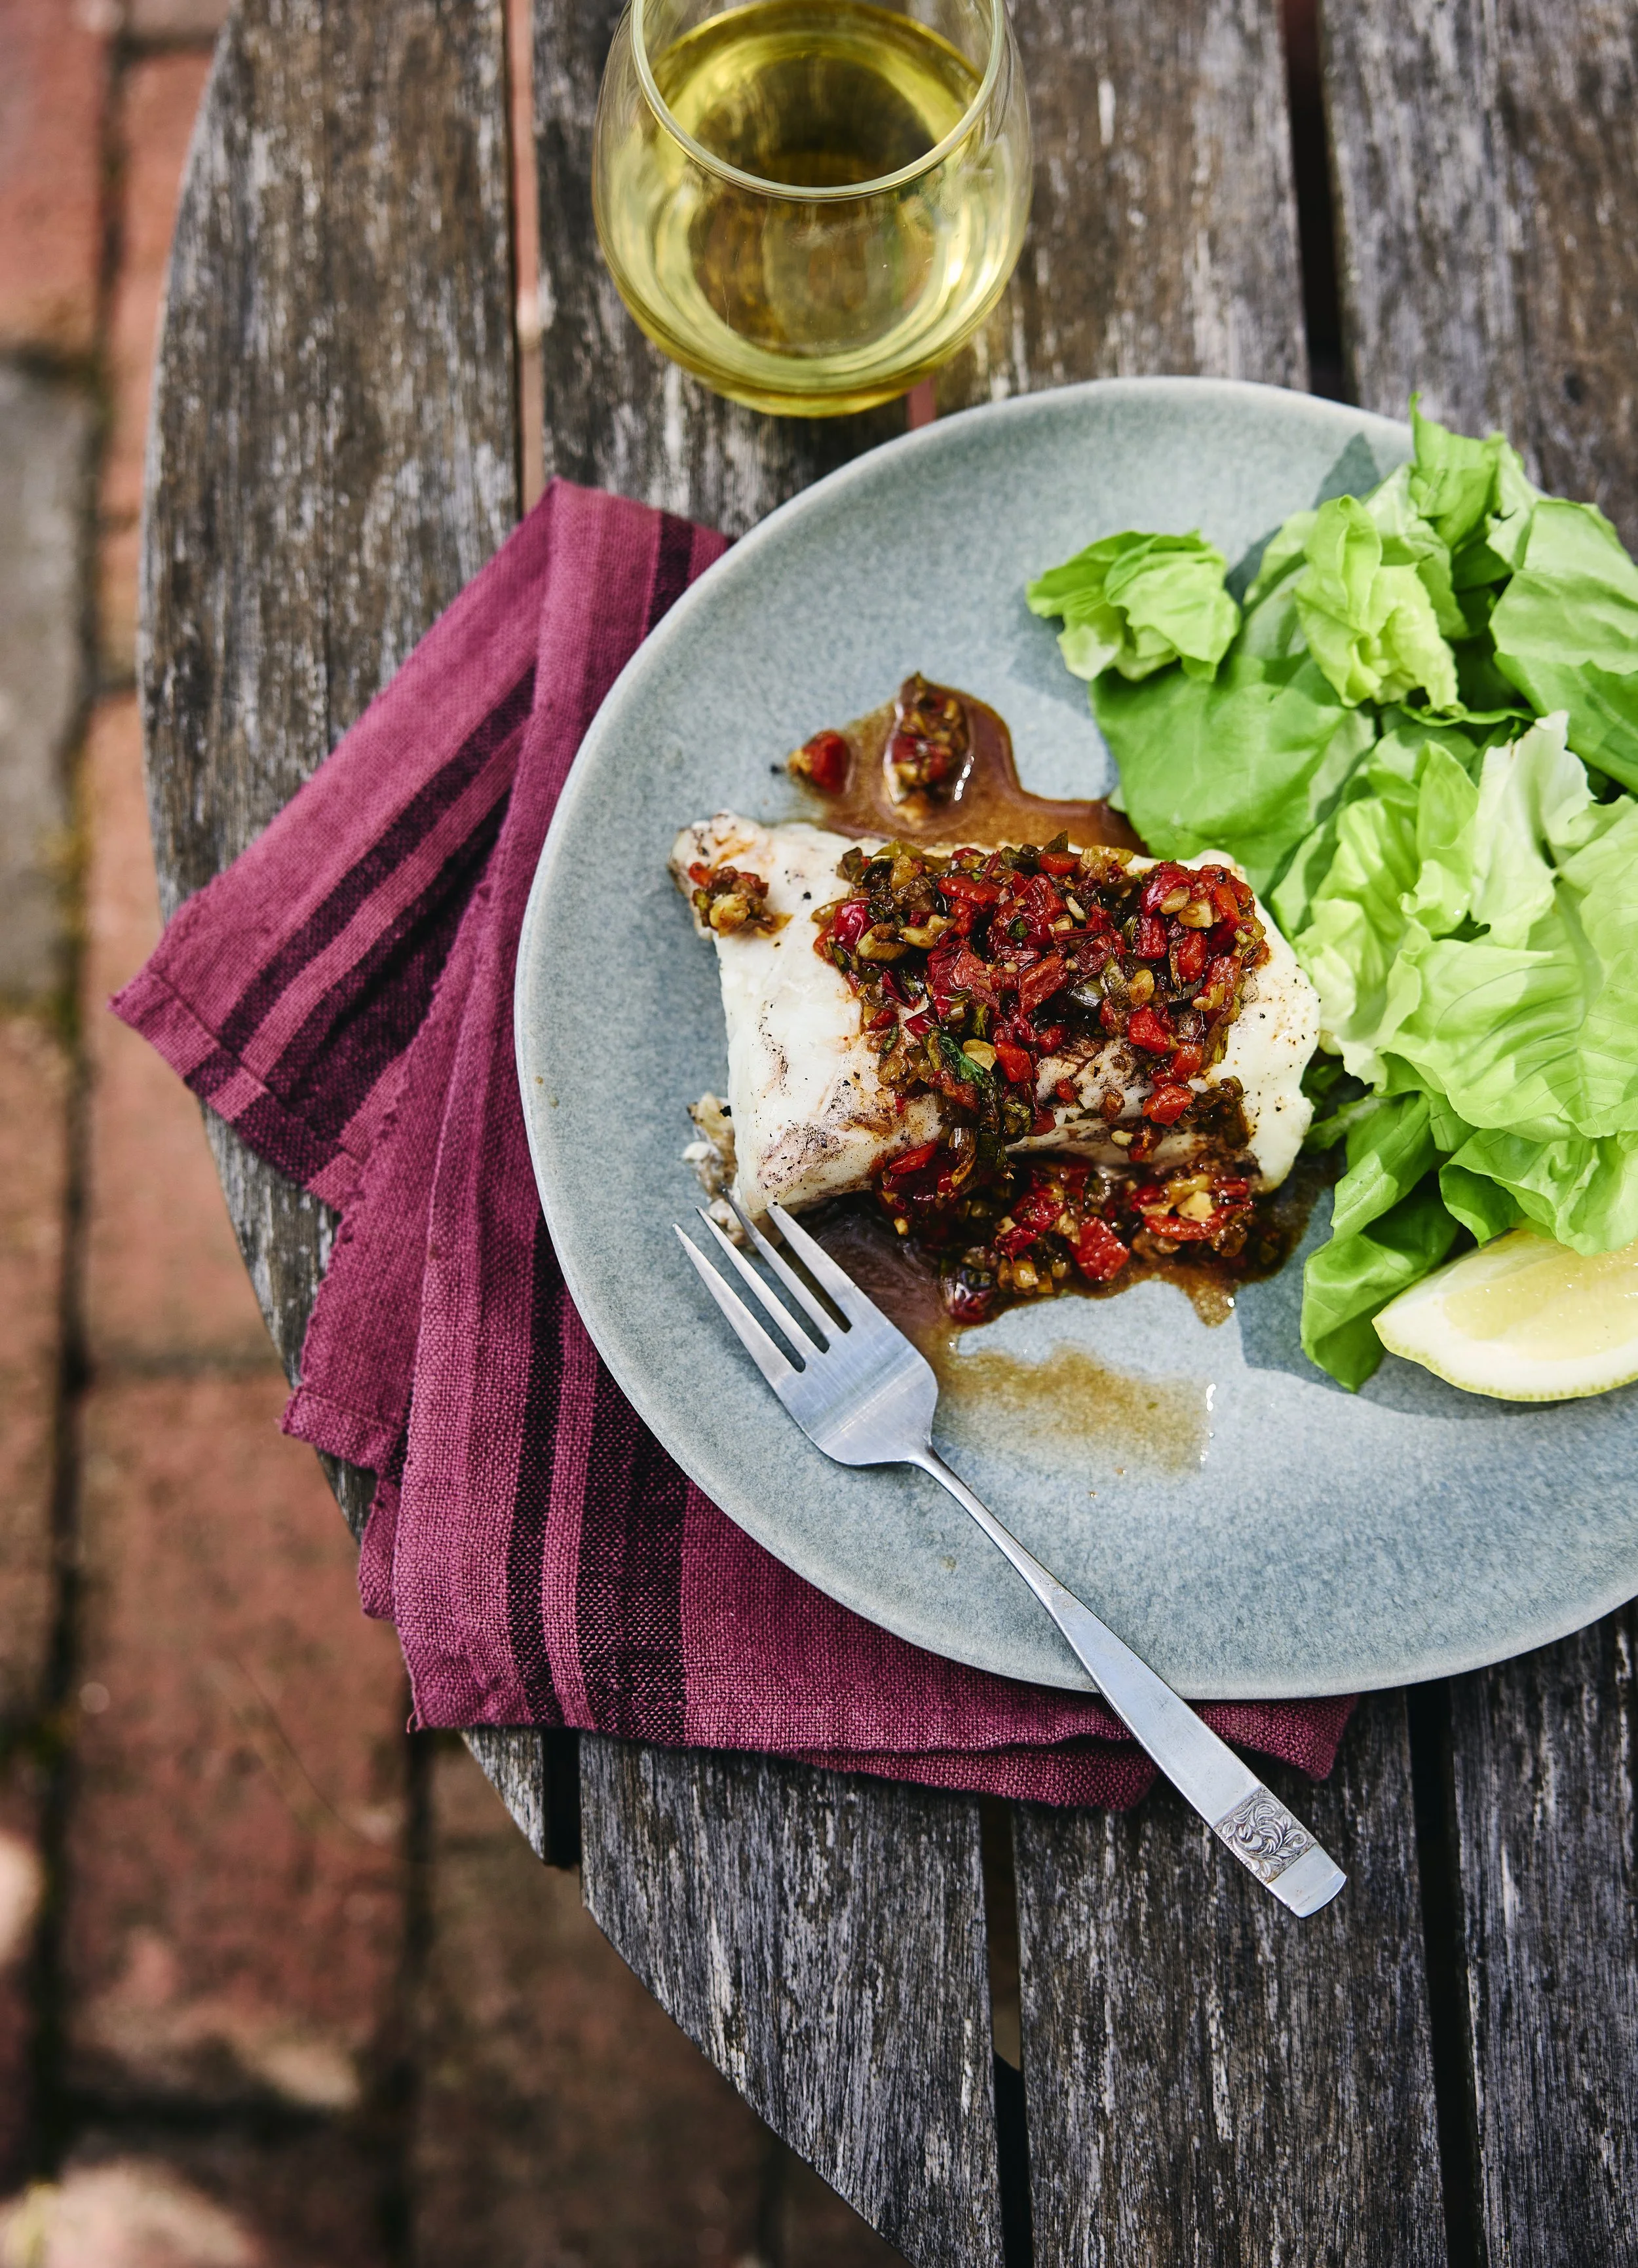
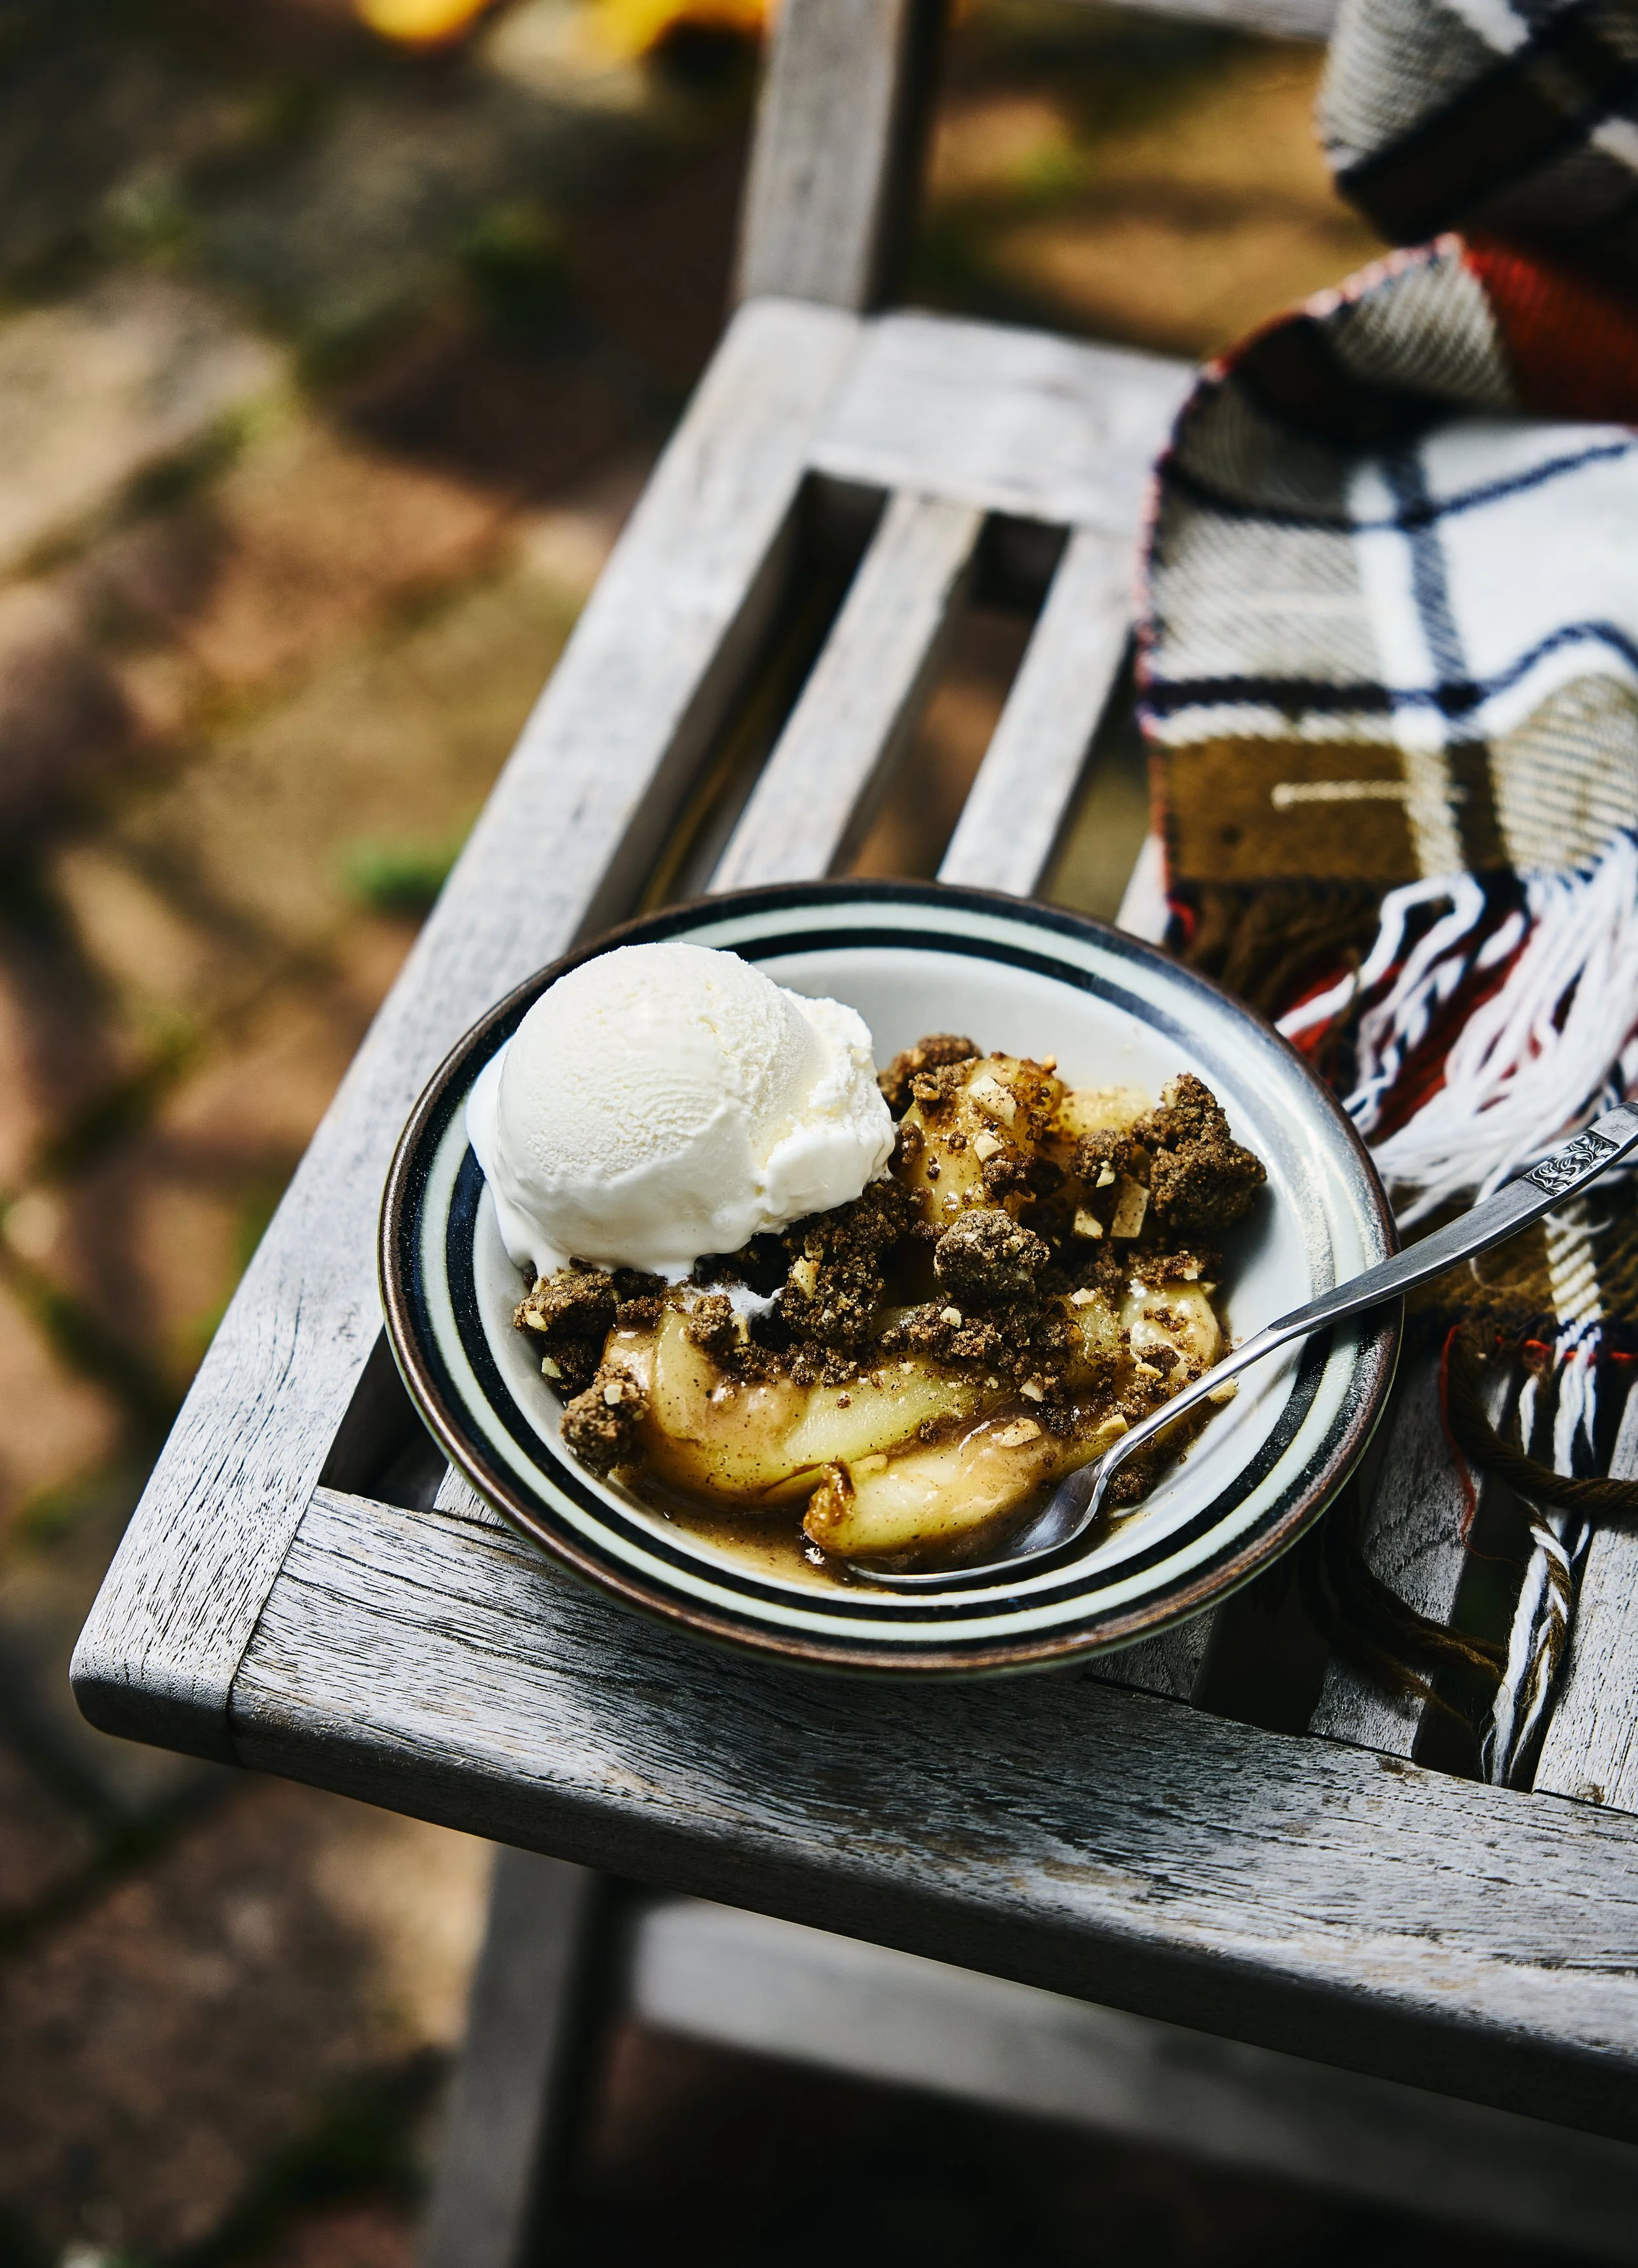
Start by cooking the beets directly in the embers. If your fire pit is large enough, place the cooking grate over part of the fire and prepare the dessert at the same time, keeping in mind that you’ll need access to the beets below with a long pair of tongs. Alternatively, wait until the beets are finished, add more fuel, set the grate in place and cook the dessert. Once dessert is done, build the fire back up and move on to the appetizers. I like to start with the grilled feta and figs, followed by the oysters. Finally, add more wood and let the fire burn hot for the fish, which benefits from a lively, high-heat fire.
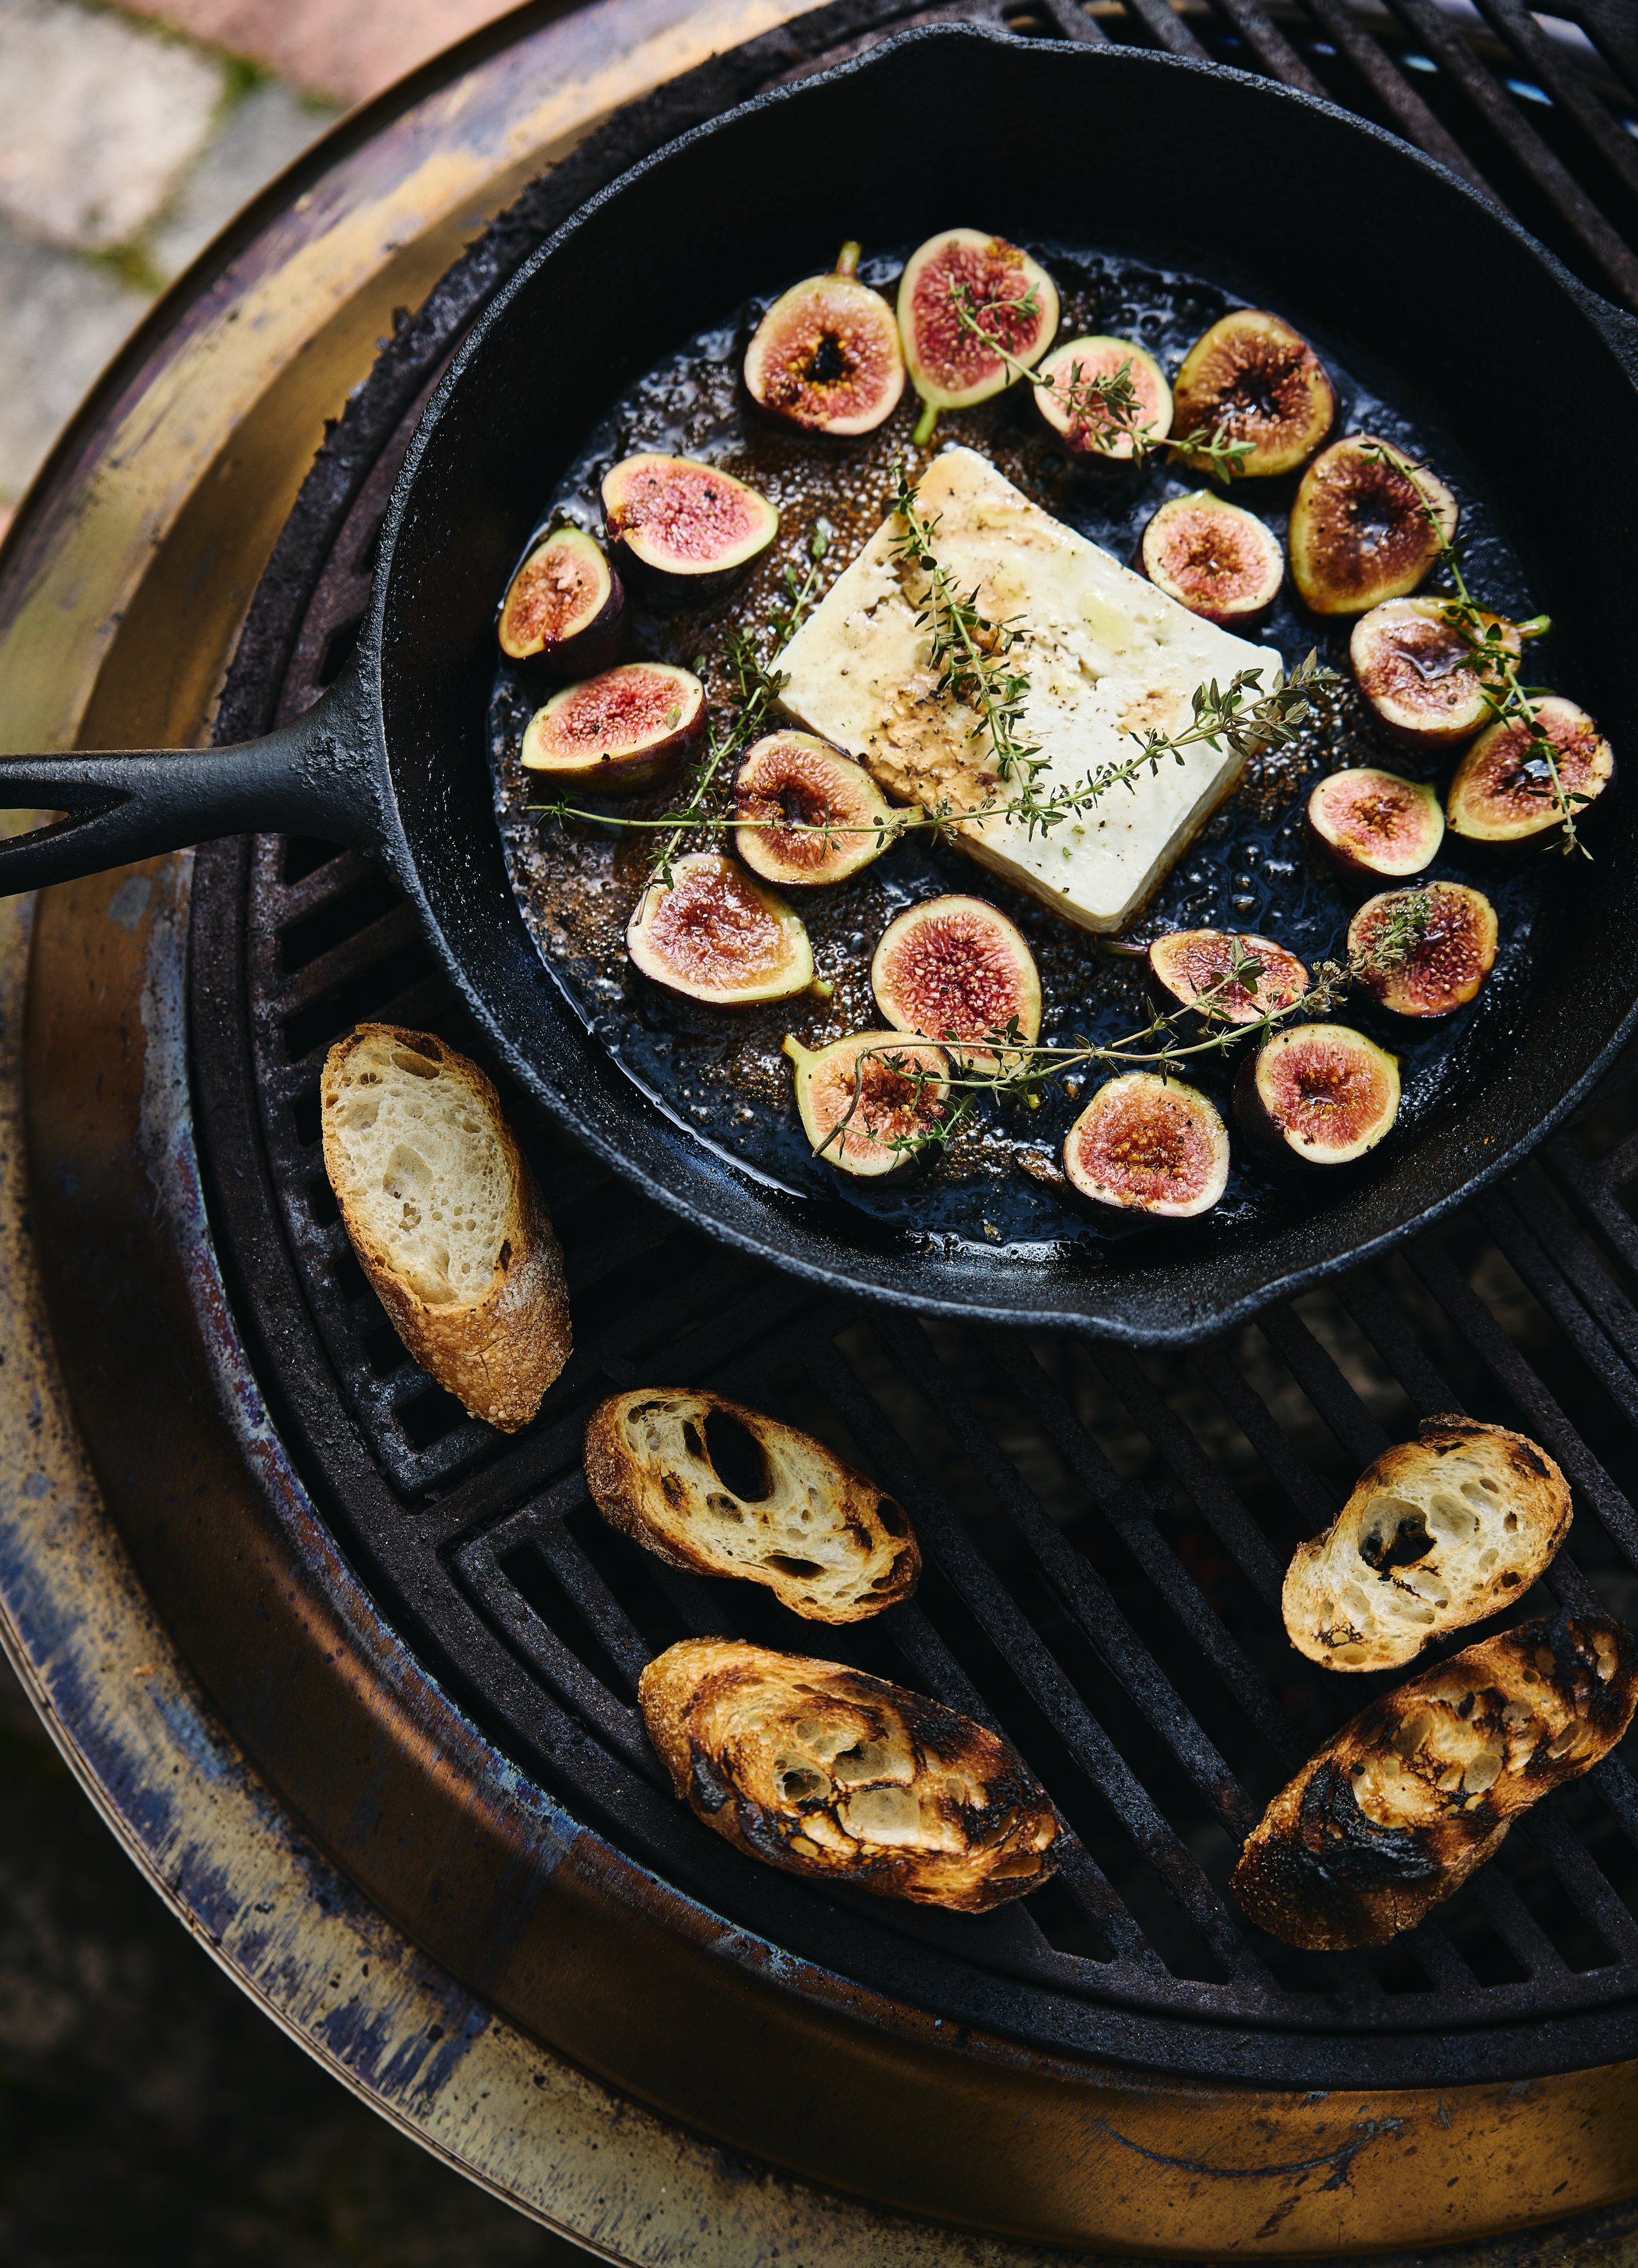
SKILLET ROASTED FETA AND FIGS
Follow instructions for lighting the fire from above. You will need a moderate fire.
Serves 4
10 fresh figs, stemmed and cut in half
8-ounce block Narragansett feta cheese
2 tablespoons extra virgin olive oil
1 tablespoon sherry or balsamic vinegar
1 tablespoon honey
6 sprigs fresh thyme
salt and freshly ground black pepper
baguette, sliced
Place the cheese in the center of a 10-inch cast-iron skillet. Arrange the figs around the cheese. Drizzle the cheese and figs with olive oil, honey and vinegar; season with salt and black pepper. Arrange the sprigs of thyme over the cheese and figs.
Place the skillet on the grill grate and cook for about 10–12 minutes, or until the figs and cheese begin to soften and the figs start to create a sticky glaze. Use a spoon to toss the figs occasionally. Remove skillet from grill and set aside to cool slightly. While the cheese and figs are cooling, lay slices of bread directly on the grill grate to toast. Remove thyme leaves from sprigs and sprinkle over cheese and figs. Serve.
OTHER RECIPES
This story appeared in the Fall 2026 issue.
