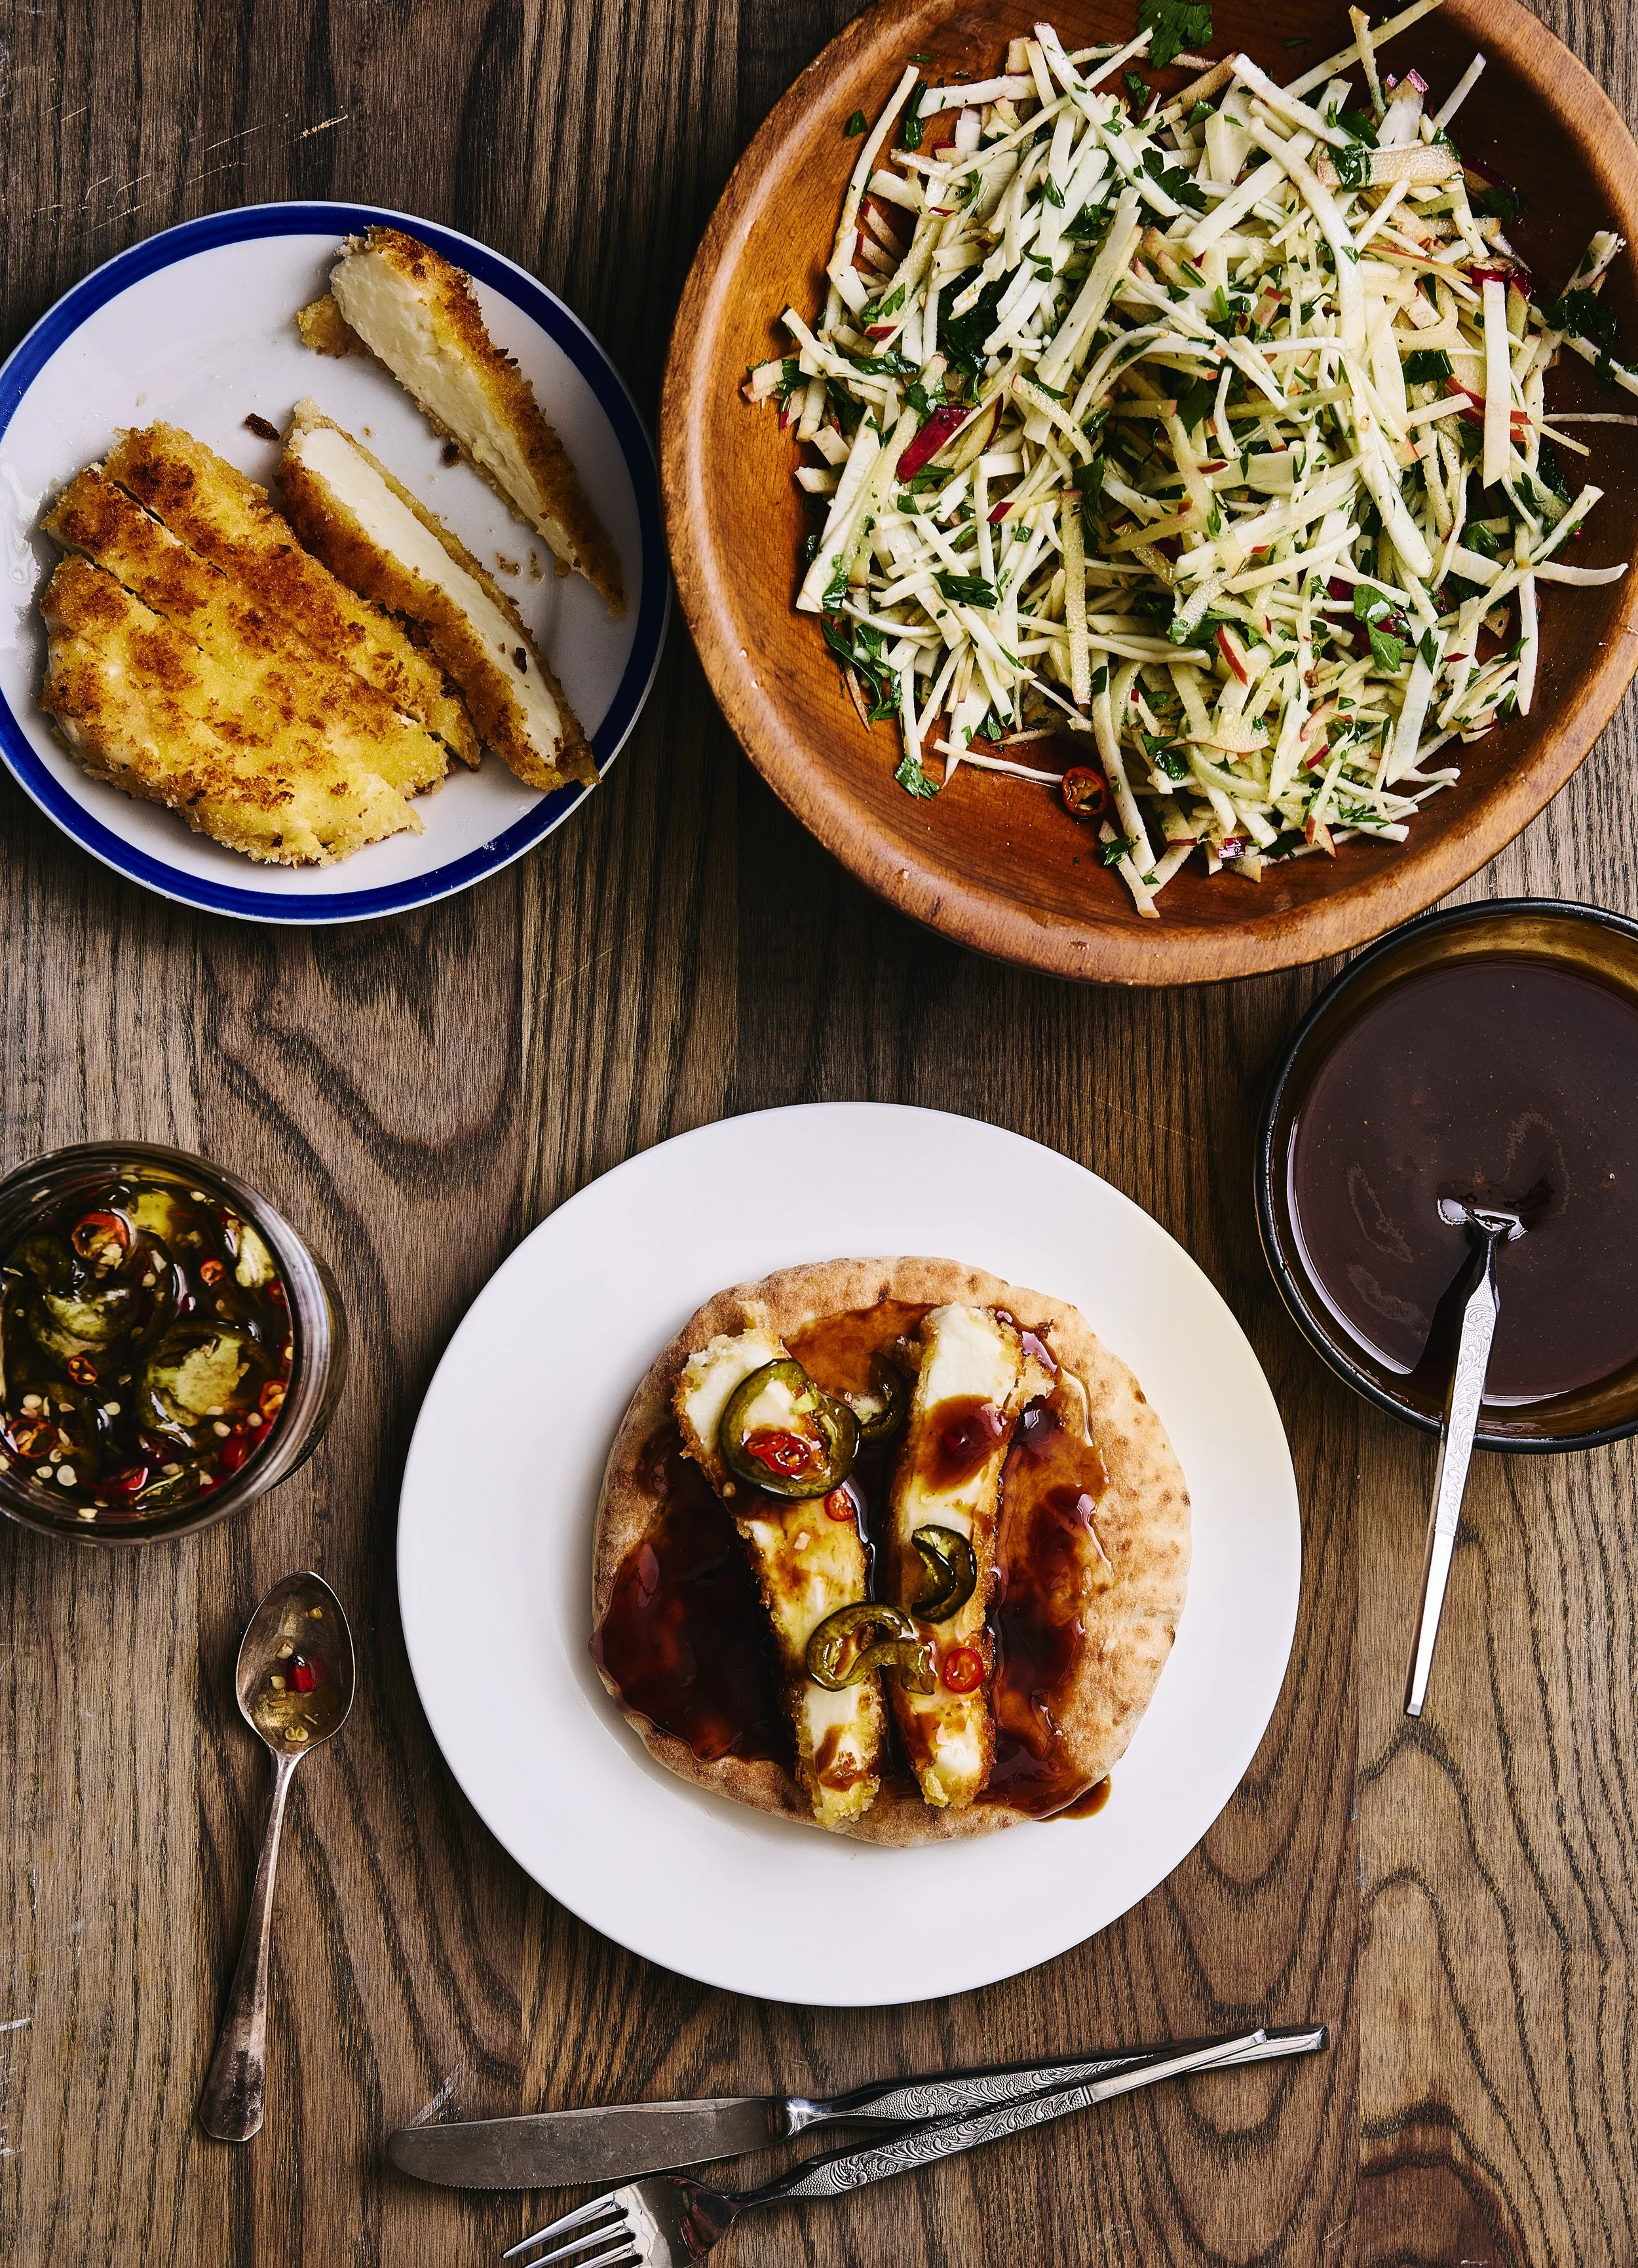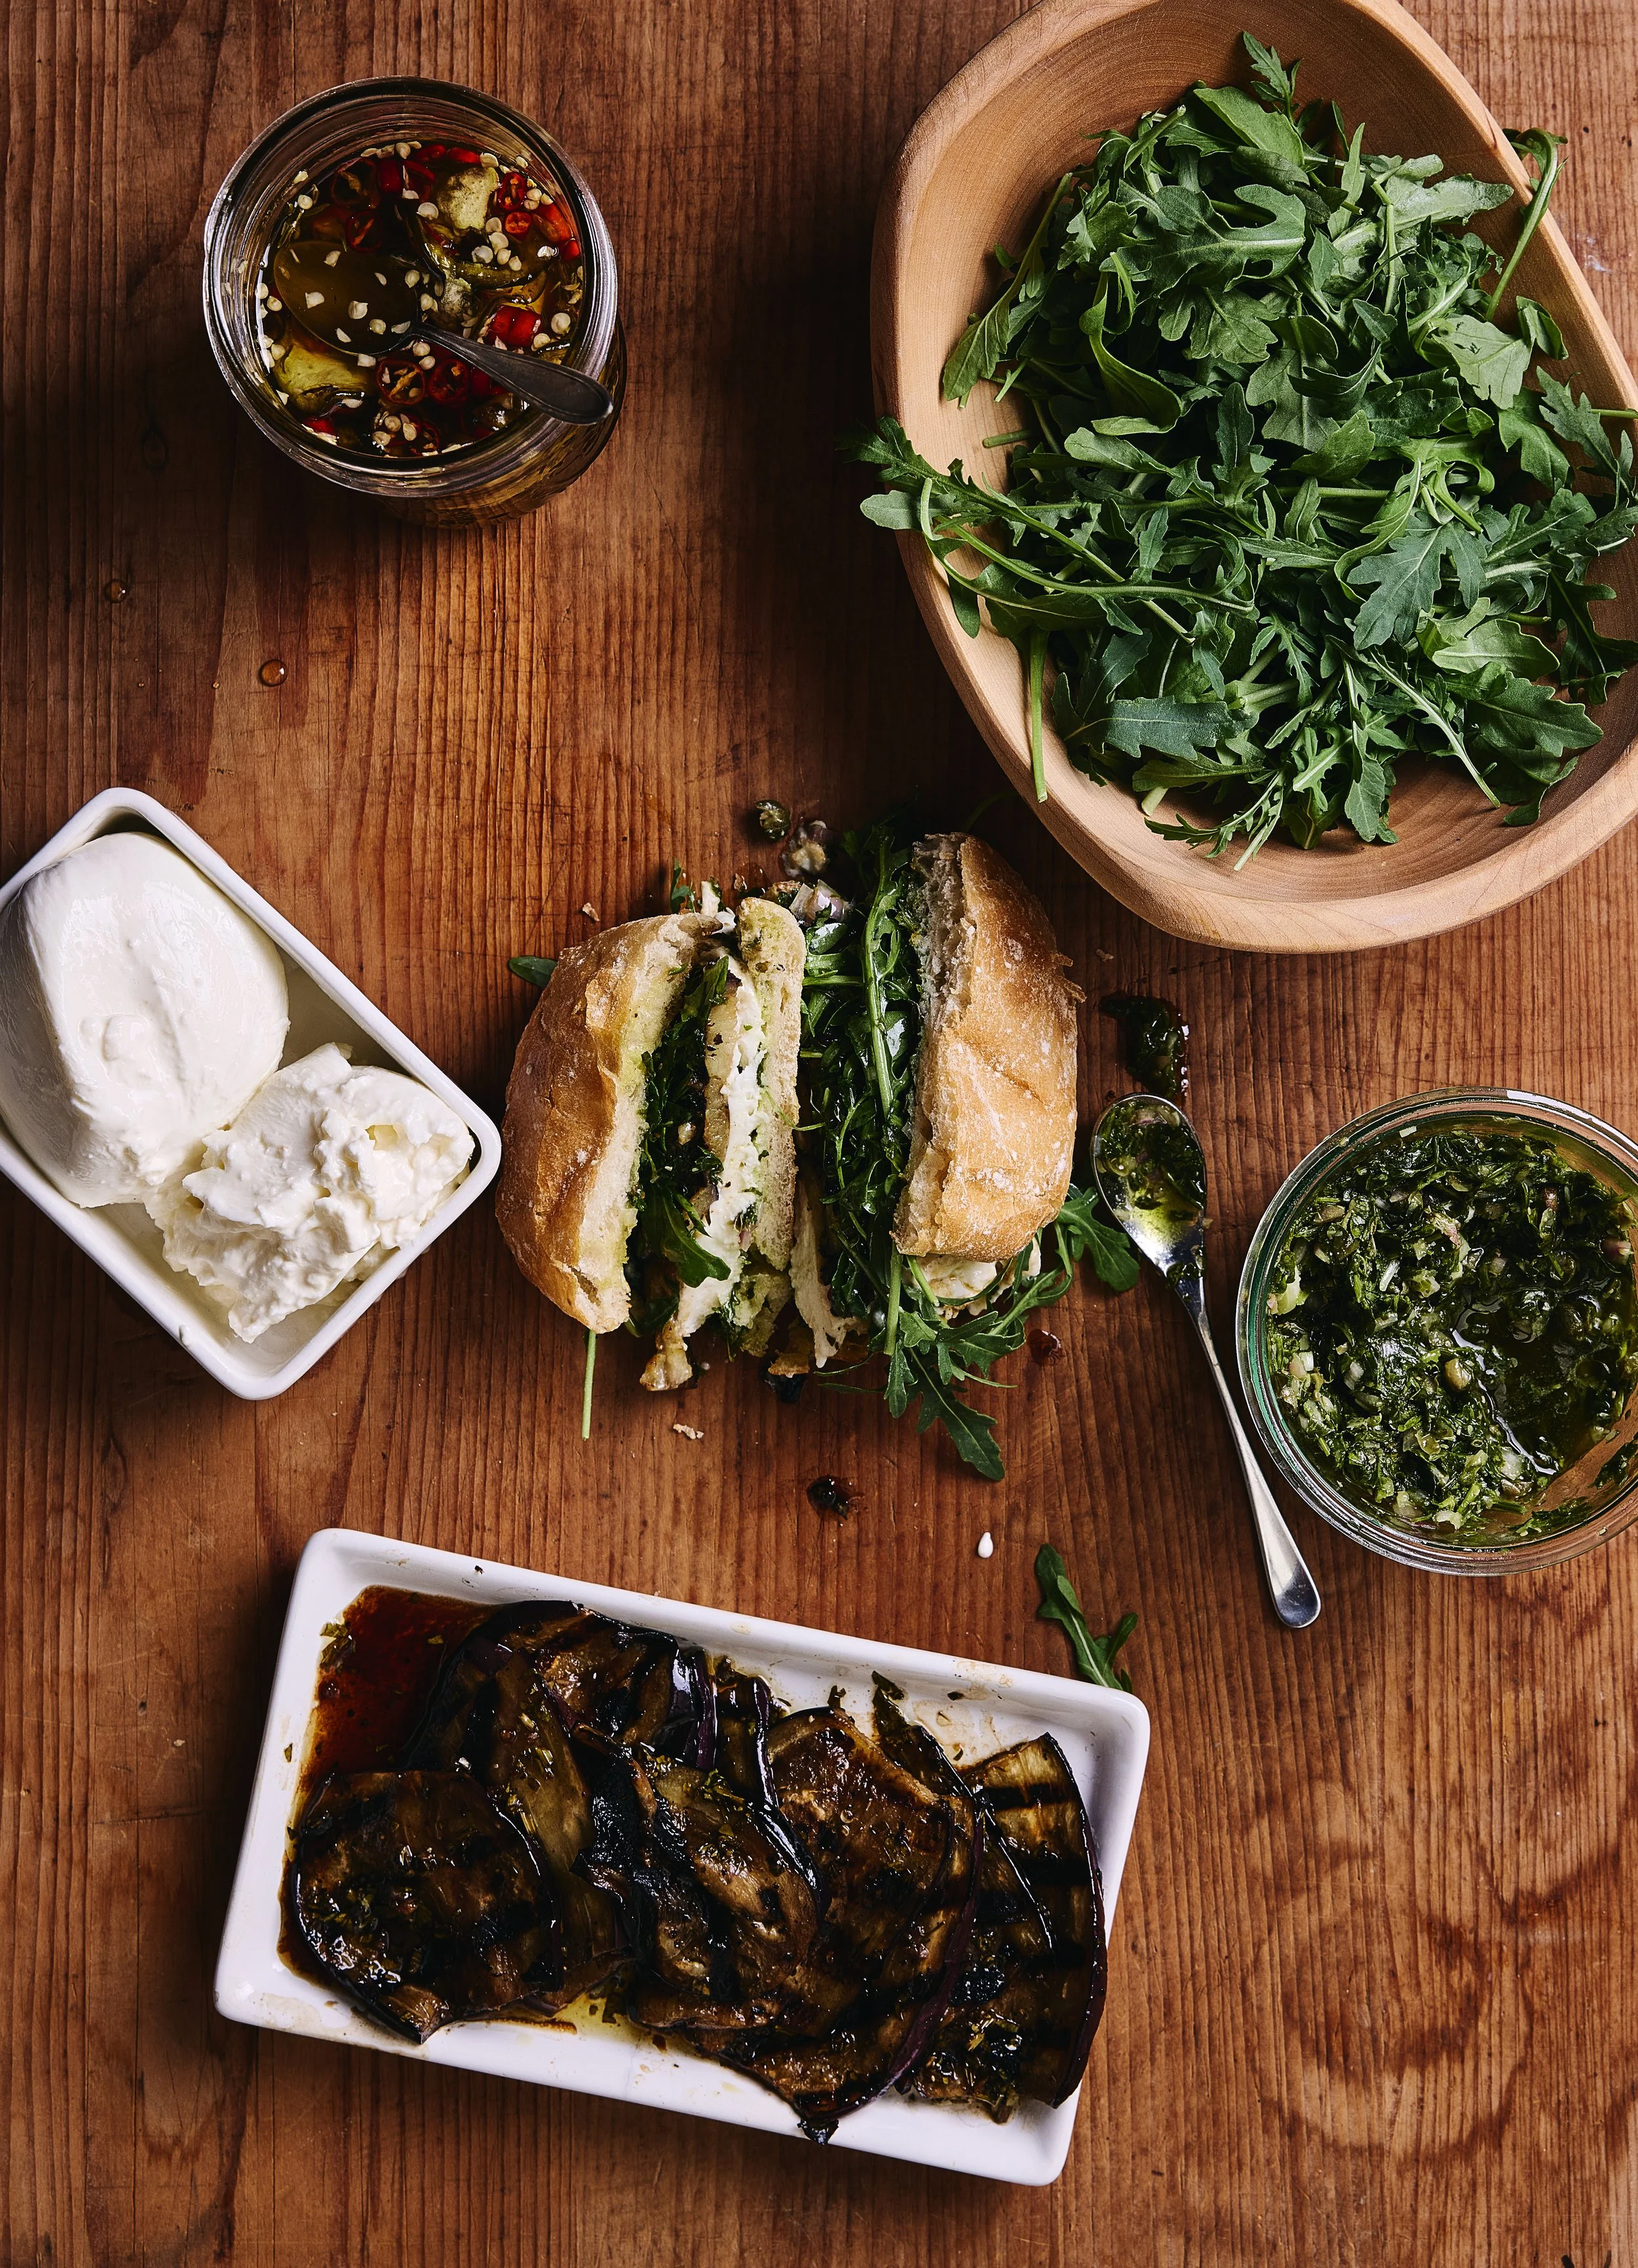
One Ingredient: Fermented Hot Honey—and three sandwiches to use it on
Photos by Michael Piazza / Styled by Catrine Kelty
Honey ferments are one of the easiest and tastiest introductions to fermentation. I think of it as honey that’s been gently woken up. Combining raw honey with moisture-rich ingredients like garlic, peppers, fruit and herbs, you wake up the naturally occurring wild yeasts and bacteria. Little sparks just waiting for moisture.
Skip the water. A handful of lightly crushed garlic from the farmers market, slices of fresh-from-the-garden hot peppers or herbs snipped from the windowsill will do it. These fresh ingredients carry enough moisture to give those natural microbes permission to stir. Once they do, the quiet magic starts. It’s a slow and gentle transformation. Add too much liquid and you’ll find yourself on the path to mead, that golden honey wine people have been making for centuries. But add just a touch—the natural moisture from vegetables, fruit or herbs—and the honey stays thick and spoonable. It bubbles softly, taking on both the taste and the spirit of whatever you’ve added.
These ferments are different from infused honey. That version uses dried herbs and patience, relying on time alone to pull flavor into the jar. No moisture, no fermentation. With fermented honey, we’re inviting a little bit of life in. The result is bright, complex and deeply alive—honey that’s had a conversation with the seasons and has tons of delicious uses, including the three vegetarian sandwiches I’ve used it in below.
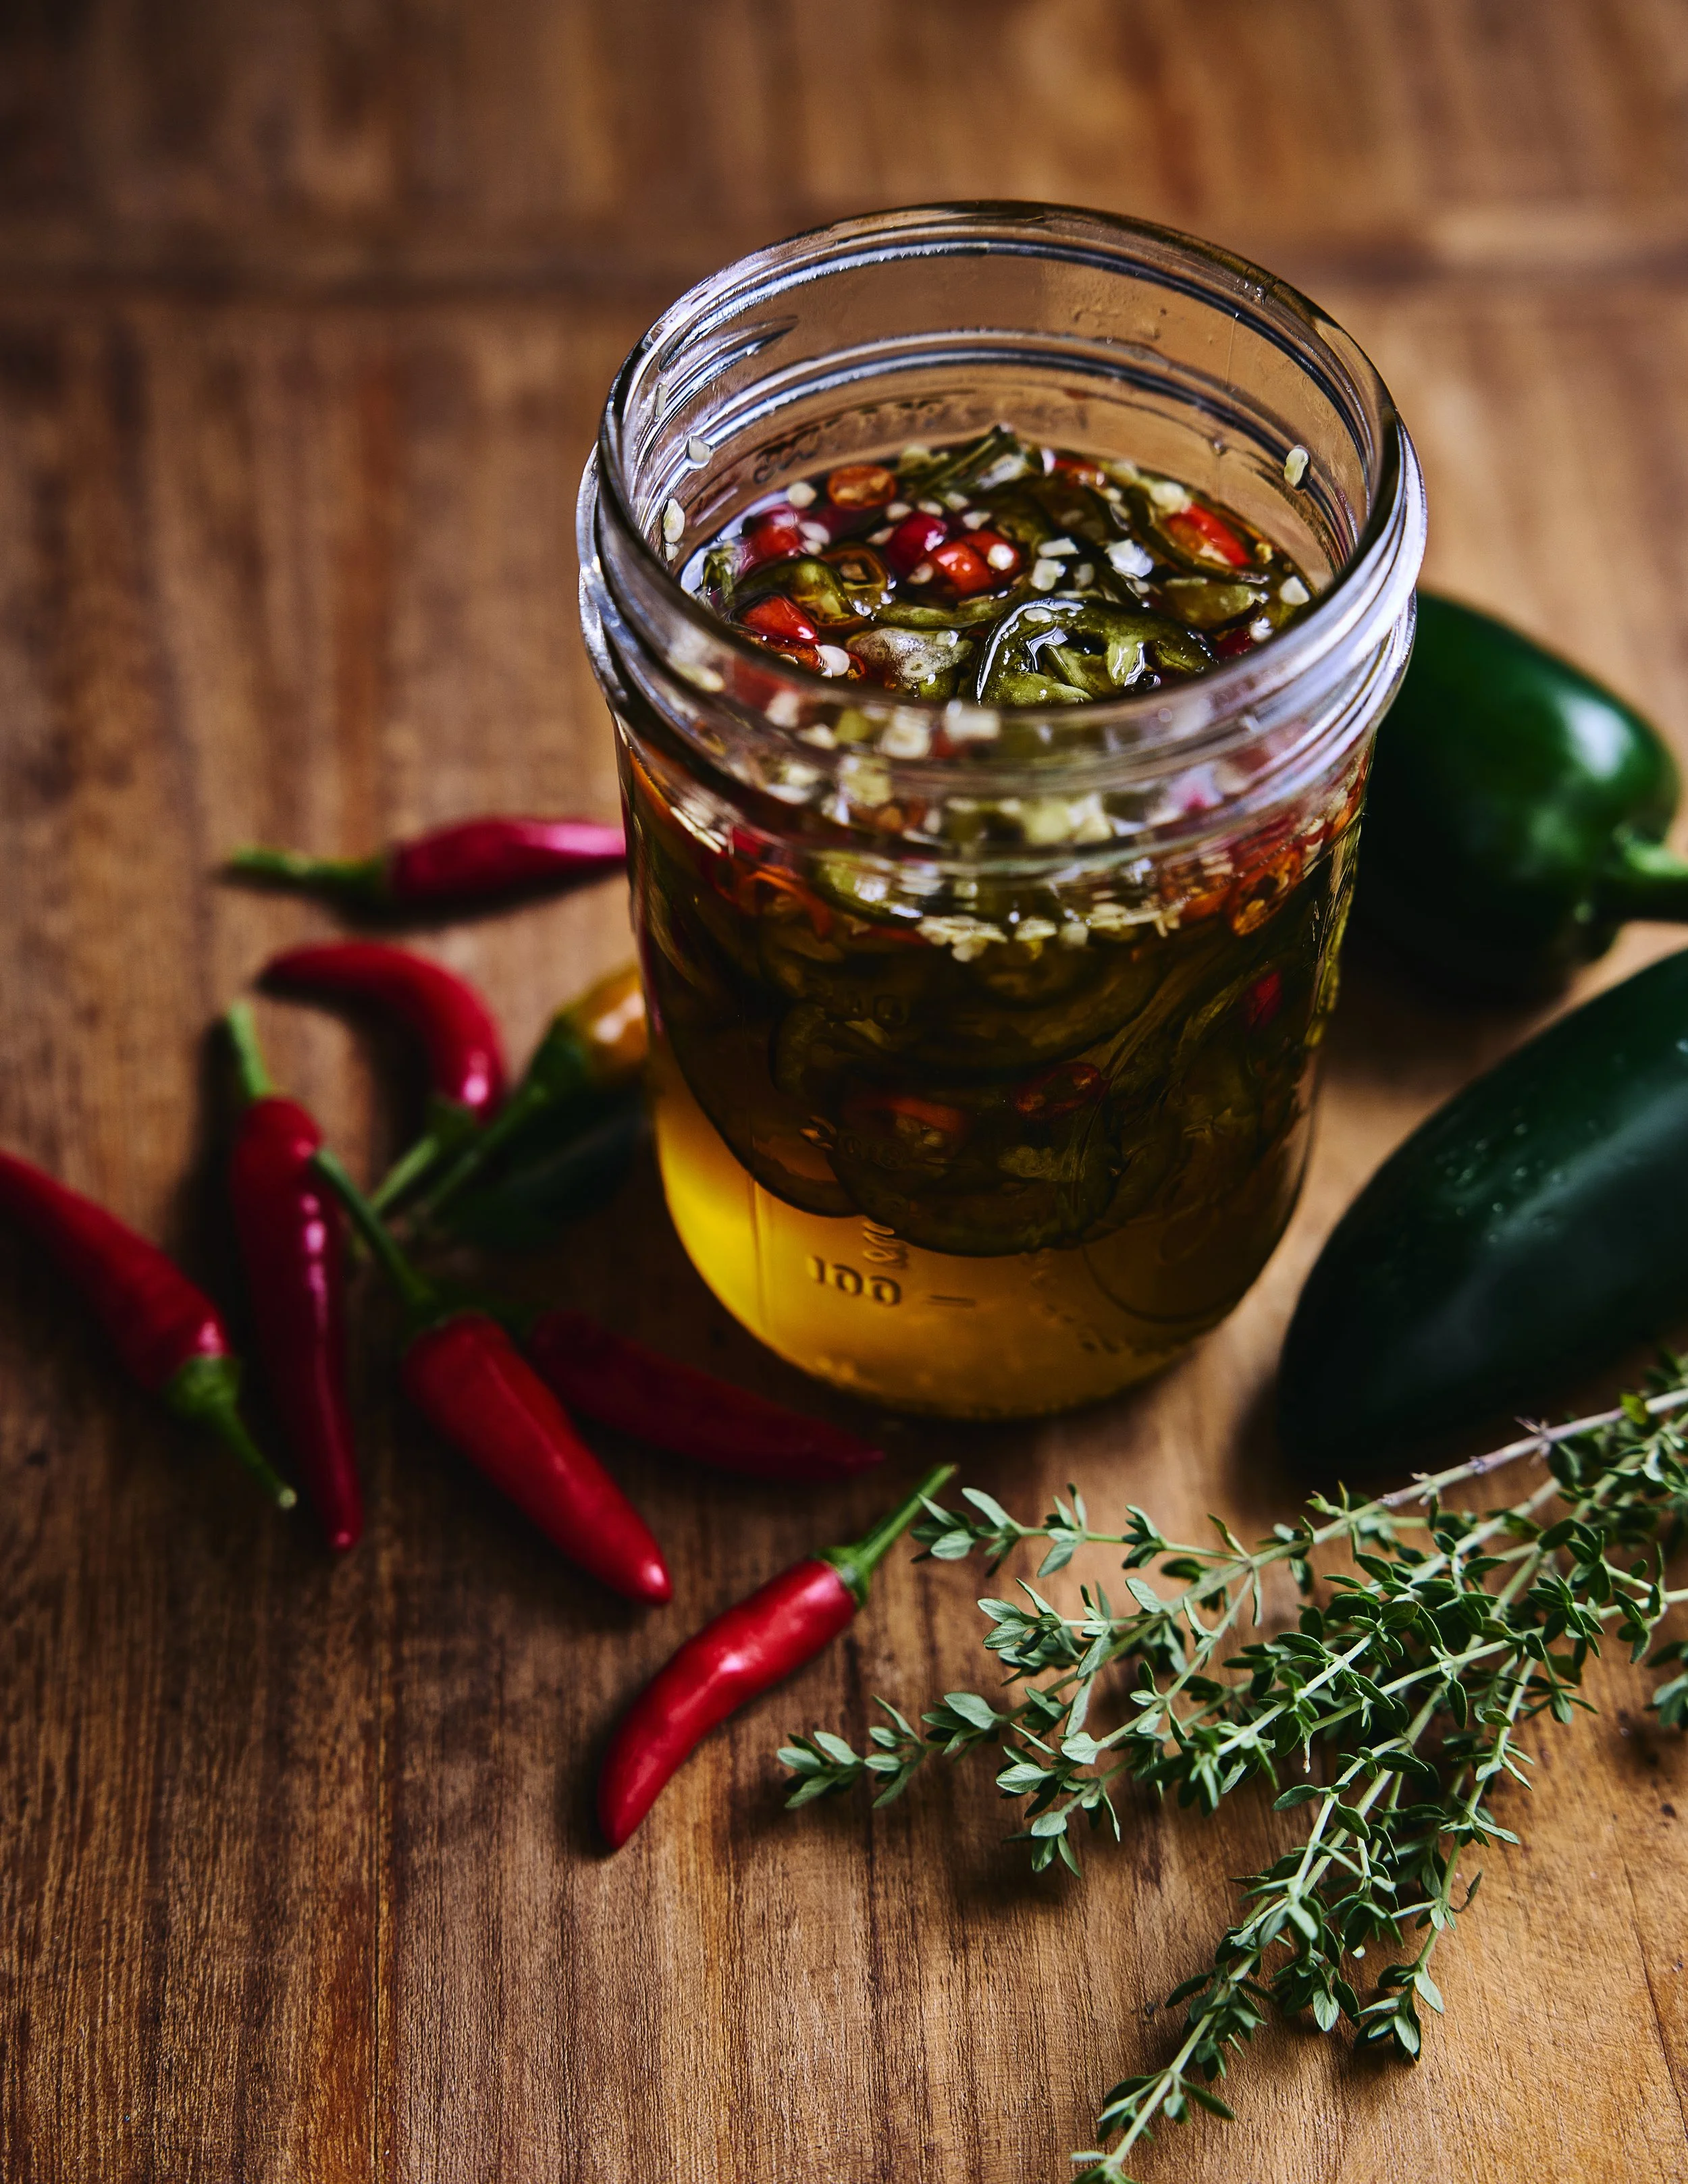
FERMENTED HOT PEPPER HONEY
Makes 1 pint
5 to 7 whole fresh hot peppers: Fresno, jalapeños, habaneros, Thai chiles or a mix, finely sliced
2 cups local raw honey
A few sprigs fresh thyme or oregano, optional
1 tablespoon raw apple cider vinegar
Wash peppers and put on some protective kitchen gloves. Slice the peppers thin as you decide your heat level: Keep the seeds and ribs for more fire, or remove some for a gentler burn.
Pack the sliced peppers into a sterilized 16-ounce mason jar until half to three quarters full. Tuck in herb sprigs, if using.
Use raw honey for this ferment as it carries the wild yeasts and bacteria needed for fermentation. Slowly pour the honey over the peppers. Take your time and let it sink to coat them. Keep adding honey until all peppers are submerged. Leave at least 1 inch headspace.
Add a bit of raw apple cider vinegar (to keep the mix safely acidic and help start fermentation). Peppers will release their juice and thin the honey over time. Stir gently with a clean spoon to release any air bubbles. Screw lid on tight. Flip the jar over and back to coat everything. Loosen the lid so gases can escape and set the jar on a small plate in a dark spot around 70°F, out of direct sun.
For the first week, turn the jar daily. Tighten the lid before flipping. Turn upside down to recoat peppers. Turn upright and loosen the lid again.
After a few days you’ll see bubbles on the surface. The honey will thin and the volume may drop slightly. That’s normal. Taste after 10 to 14 days. The sharp heat of chilies softens into slow, floral warmth. You can let it go longer and the flavor will keep developing. When it tastes right to you, tighten the lid. Keep the jar in a cool, dark spot. No refrigeration needed. It will keep for months.
Note: To make Fermented Honey Garlic instead, which is especially nice in the Halloumi Flatbread and is an easy introduction to honey ferments, replace the chili peppers with 2 heads of fresh garlic cloves, peeled. Follow the rest of the steps exactly the same way and store in a cool, dark place. Once a day for the first month, seal the lid tight. Flip the jar gently to coat every clove. Set upright again and loosen the lid. In a few days you’ll see bubbles. The honey will thin and the garlic will release moisture. No refrigeration needed and it will last months, even a year, while the flavor keeps deepening. At one year, the garlic and honey develop complexity most chefs only dream of finding in a pantry ingredient.
FERMENTED HONEY GARLIC
Makes 1 pint
2 large heads garlic, cloves separated and peeled
2 cups local raw honey
1 tablespoon raw apple cider vinegar
Separate and peel garlic cloves. Keep them whole. Lay the flat side of a chef's knife over a clove and give it a firm whack with your palm to bruise, not crush it. Bruising will keep the cloves intact but helps them ferment.
Fill a sterilized glass jar one half to three quarters full with garlic cloves. Use raw honey in this ferment as it carries the wild yeasts and bacteria needed to start fermentation. Pour the honey in stages, letting it snake around the garlic before topping it off. Leave at least 2 inches headspace. This ferment gets active and will bubble. Add raw apple cider vinegar as it keeps the mix safely acidic.
Stir the mixture gently with a chopstick to release air bubbles. The garlic should be fully submerged. Some will float; that’s normal. Cover the jar loosely and set the lid on without tightening. Gases will need to escape. Set the jar on a small plate out of direct sunlight but somewhere you’ll see it. It will need daily attention for the first 4 weeks.
Once a day for the first month, seal the lid tight. Flip the jar gently to coat every clove. Set upright again and loosen the lid. In a few days you’ll see bubbles. The honey will thin and the garlic will release moisture.
You can taste a clove anytime in the fermentation process, but the real change takes about 1 month. The garlic mellows and sweetens and turns translucent like amber. The honey will darken and pull in all that savory depth. After 1 month, stop flipping. Bubbling will slow. Store in a cool, dark place. No refrigeration needed and it will last months, even a year, while the flavor keeps deepening. At one year, the garlic and honey develop complexity most chefs only dream of finding in a pantry ingredient.
sandwiches to use it on…